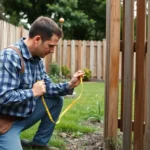

Setting fence posts might not sound like the most thrilling task on the weekend, but it’s the secret sauce to a sturdy fence that keeps the neighbors’ dogs from crashing the barbecue. Whether it’s for privacy, keeping kids safe, or just adding a touch of charm to the yard, a well-placed post can make all the difference.
How to Set Fence Posts
Proper tools and materials are vital for setting fence posts effectively. Gathering everything beforehand ensures a smooth installation process.
Essential Tools
A post hole digger or auger helps create deep holes for the posts. A level is necessary for ensuring each post stands straight. A tape measure allows for precise spacing between posts. A hammer or cordless drill is useful for driving in nails or screws. Gloves protect hands during handling, while safety glasses safeguard eyes from debris.
Required Materials
Concrete mix provides stability once the posts are placed in the ground. Wooden posts offer durability and strength for the fence structure. Metal brackets can reinforce joints and attach posts securely to horizontal rails. Additionally, some screws or nails help fasten components together. Finally, gravel improves drainage around the base of each post.
Preparing The Site
Preparing the site is essential for setting sturdy fence posts. Proper site preparation contributes to a reliable and durable fence structure.
Choosing The Location
Choosing the location involves assessing the intended purpose for the fence. Consider factors like terrain, property boundaries, and proximity to existing features. It’s critical to confirm property lines to avoid disputes with neighbors. Evaluate the sun’s position and natural elements, which may affect the fence’s longevity. Ensure the area is free from obstructions such as trees or large rocks.
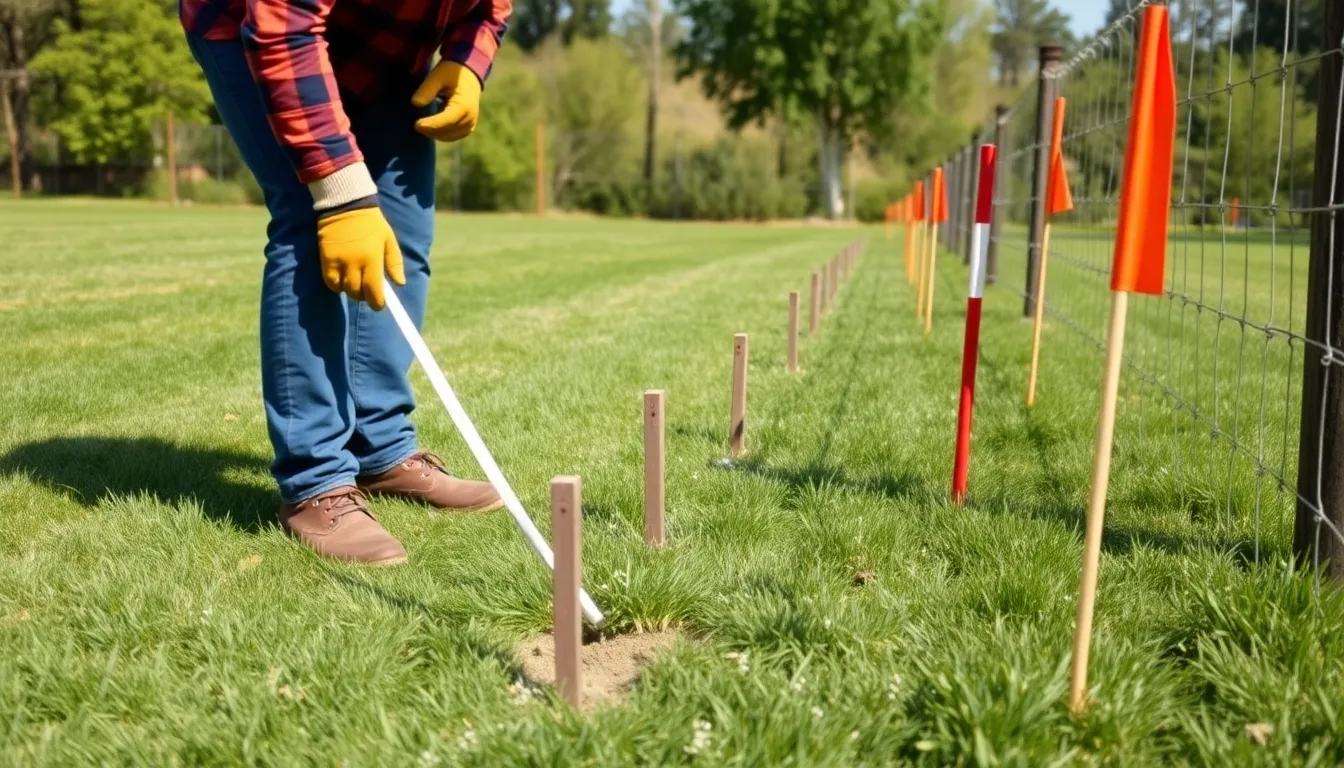
Marking The Fence Line
Marking the fence line establishes clear boundaries for installation. Use stakes or flags to indicate where posts will sit. Maintain consistent spacing between posts, typically 6 to 8 feet apart for optimal support. A chalk line aligned with the stakes provides a visual reference for a straight installation. Double-check measurements before digging to confirm accuracy, ensuring no sudden surprises arise during installation.
Digging The Holes
Digging the holes for fence posts requires careful planning and execution to ensure stability. A properly dug hole supports the fence’s longevity and performance.
Recommended Hole Depth
Experts recommend a depth of at least one-third of the post length for optimal stability. For instance, a 6-foot post requires a hole depth of 2 feet. Posts in high-wind areas may need deeper holes, enhancing resistance against gusts. Soil conditions also affect the depth; softer soils may require additional depth for adequate support. Additionally, local building codes sometimes set specific requirements, so checking regulations before digging is essential.
Techniques For Digging
Using a post hole digger offers efficiency in creating holes. First, mark the location with stakes to guide the digging process. Next, position the digger over the marked point and push it into the ground, pulling the handles apart to remove soil. In harder grounds, an auger can reduce physical effort. A shovel becomes useful for clearing out loose dirt, especially for wider holes. Before finishing, ensure the sides of the hole remain straight and the bottom is level, thereby providing a solid base for the post.
Setting The Posts
Setting posts correctly ensures a sturdy fence structure. This process involves choosing the right materials and techniques for durability.
Using Concrete
Concrete provides excellent stability for fence posts, making it a popular choice. Mix concrete according to the manufacturer’s instructions, typically to a thick, peanut butter-like consistency. Fill each hole around the post with concrete, ensuring it’s packed tightly. Check the post’s vertical alignment with a level before the concrete sets. Allow a curing time of at least 24 to 48 hours for optimal strength. This method significantly reduces the risk of leaning over time, especially in areas with extreme weather conditions.
Alternative Methods
Alternative methods exist for setting posts if concrete isn’t preferred. Gravel serves as a drainage solution, offering support while preventing water accumulation. For this technique, place a few inches of gravel at the bottom of the hole before inserting the post. Another option includes using a post anchor, which secures the post above ground, avoiding ground contact. This method benefits from easier maintenance and allows for post replacement. Consider these methods based on the specific soil type and climate for long-lasting results.
Ensuring Stability
Setting fence posts correctly ensures your fence remains stable and upright for years. This section covers key details about achieving and maintaining the necessary stability.
Checking For Plumb
Inspecting posts for plumb is crucial for a straight fence. A level helps confirm vertical alignment by placing it against the post and adjusting as necessary. If a post leans, reposition it until it stands straight. Checking each post before the concrete sets prevents future issues with alignment. After ensuring it’s plumb, securing the post temporarily with braces can maintain its position until the concrete hardens.
Backfilling Techniques
Employing proper backfilling techniques enhances post stability. Begin by adding gravel at the bottom of the hole for drainage. When filling around the post, use a mix of soil and gravel for optimal support. Compact the soil in layers to eliminate air pockets, which could compromise stability. Moistening the soil slightly aids in compaction, ensuring a solid foundation. After backfilling, additional assessment of alignment is beneficial before the final set of the post.
Conclusion
Setting fence posts is a vital step in creating a sturdy and appealing fence. By following the outlined techniques and utilizing the right tools and materials, anyone can achieve a reliable installation. Proper planning and execution ensure that the posts are stable and aligned, which is crucial for the overall integrity of the fence.
Taking the time to prepare the site, measure accurately, and allow for proper curing makes all the difference in the long run. Whether opting for concrete or alternative methods, prioritizing stability and drainage will lead to a fence that stands the test of time. With these tips in mind, the task of setting fence posts becomes manageable and rewarding.