
Setting up a home sauna can be a fulfilling project, offering relaxation and health benefits. With the rise in popularity of home saunas, many people are opting for outdoor sauna kits, which make the installation process much easier and more accessible. If you’re considering installing an outdoor sauna kit in your backyard, follow these easy steps to ensure a smooth setup.
1. Choose the Right Location for Your Outdoor Sauna Kit
Before diving into the installation process, the first and most important step is selecting the right location for your outdoor sauna kit. The space should be flat and stable to ensure the sauna structure is level. Consider a spot that offers enough privacy for an enjoyable experience but also one with good accessibility for maintenance and utility connections.
You’ll also want to think about sunlight exposure. A sunny spot can make your sauna more comfortable and help it maintain a pleasant temperature throughout the day. However, ensure that it’s not too exposed to harsh weather conditions. Additionally, placing your sauna near a power source is important if you’re using an electric heater. Keep a safe distance from trees and structures to ensure proper airflow and prevent fire hazards.
2. Prepare the Ground for Your Outdoor Sauna Kit
Now that you’ve chosen the perfect location for your home sauna, the next step is preparing the ground. A level and stable surface is crucial for your sauna’s longevity. Start by clearing the area of any debris, rocks, or vegetation that could disrupt the structure. If the ground isn’t naturally level, consider using a foundation like a gravel bed to create an even surface.
Proper drainage is also a key consideration. Without it, water can accumulate around the sauna, which could lead to structural damage over time. Installing a base with good drainage ensures the sauna kit remains safe and durable, even in rainy conditions.
3. Unbox and Organize Your Outdoor Sauna Kit
Once the groundwork is ready, it’s time to unpack your outdoor sauna kit. These kits usually come with all the necessary components, such as walls, flooring, insulation, and a heater. Before you start assembling, organize the components and check that all parts are included. This will save you time later on and help prevent confusion during the installation process.
Make sure you have all the necessary tools at hand to complete the assembly. Having everything organized beforehand will make the entire process much smoother.
4. Assemble the Structure of Your Home Sauna
Now that you have everything in place, it’s time to start assembling your home sauna. Begin by constructing the floor and then move on to the walls and roof panels. Most outdoor sauna kits come with detailed instructions, so follow those carefully. Use the provided hardware to secure the panels in place, ensuring they are tight and stable.
If you’re working with a kit that includes insulation, this should be installed between the walls to maintain heat retention. Always take the necessary safety precautions while handling heavy panels and tools to avoid injury.
5. Install the Heater for Your Home Sauna
Installing the heater is one of the most critical steps when setting up your home sauna. Make sure the heater is placed in the correct location as per the manufacturer’s guidelines. This usually means positioning it away from the walls and in a place where it can efficiently heat the entire sauna.
If your outdoor sauna kit uses an electric heater, you’ll need to hook it up to a power source. Ensure that the electrical connections are secure and that the heater is grounded properly. If you’re unsure about any electrical work, consider hiring a licensed electrician to handle the installation. Once the heater is installed, test it to make sure it’s functioning properly before moving on to the next steps.
6. Install the Door and Windows of Your Outdoor Sauna
The door and windows are important for ventilation and light inside your home sauna. Install the sauna door carefully, ensuring that it seals well to prevent heat from escaping. If your kit includes windows, they should be installed at a height that allows for optimal airflow. Proper ventilation ensures a consistent temperature and helps maintain air quality inside the sauna.
Be sure to check that the door and windows are tightly sealed to avoid drafts or heat loss.
7. Add the Finishing Touches to Your Outdoor Sauna
Once the structure is assembled and the heater is installed, it’s time to add the finishing touches to your outdoor sauna kit. Start by installing benches, which are usually included in the kit. Arrange them to maximize comfort and relaxation during your sauna sessions.
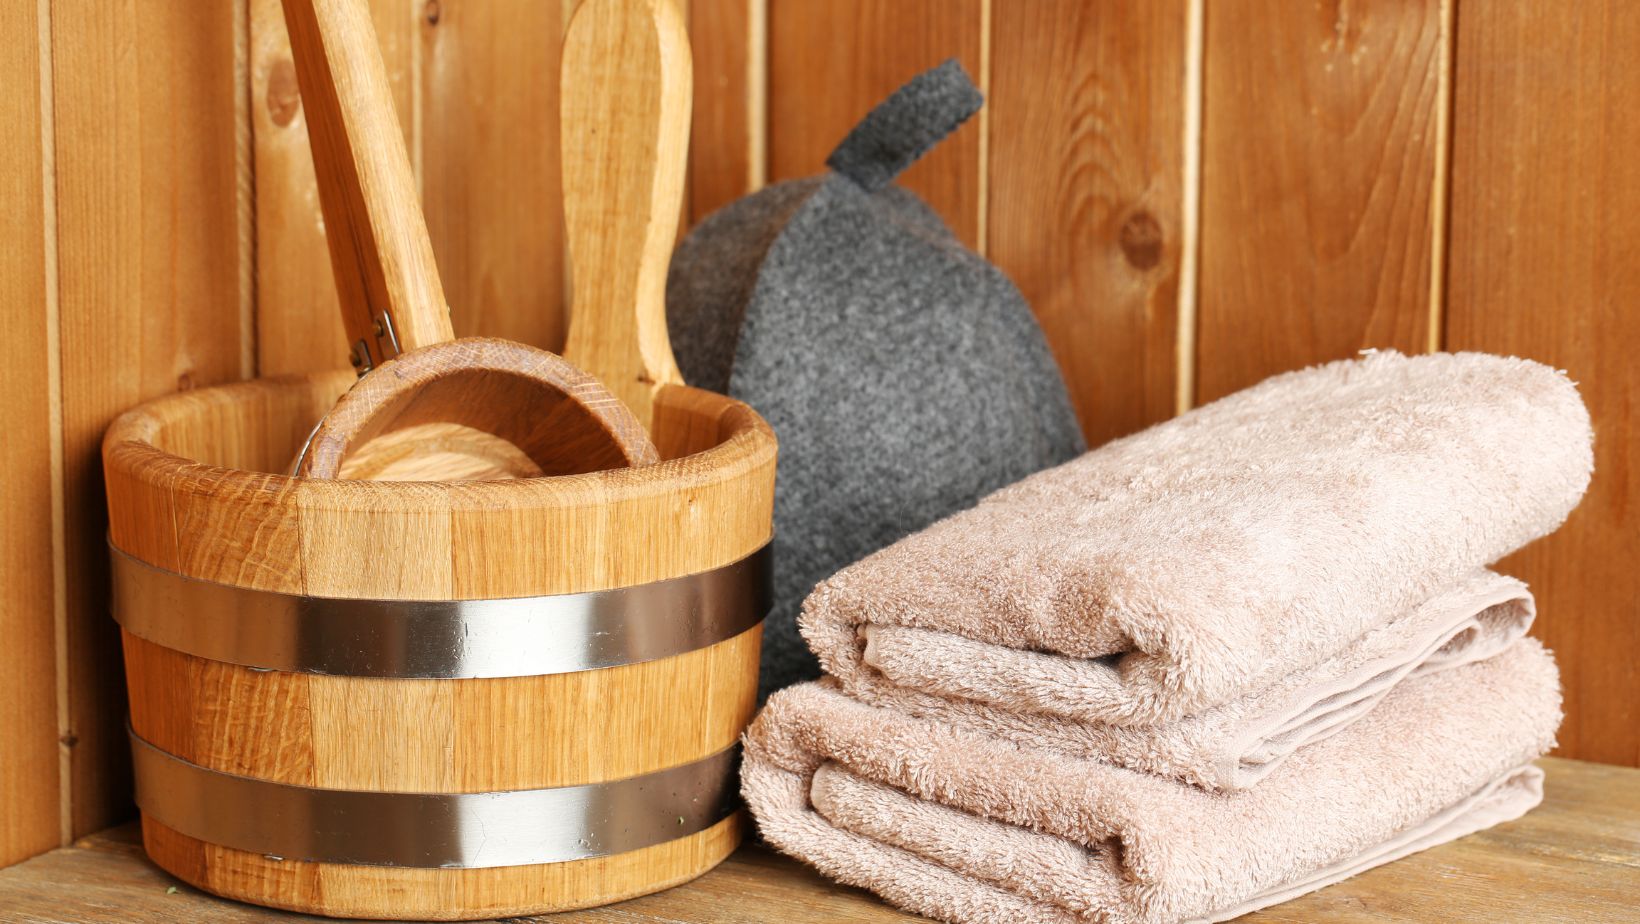
You can also consider adding lights, towel hooks, or even speakers for music. Many home saunas offer additional accessories like aroma diffusers, which can enhance the experience. Take time to customize your sauna to suit your needs and ensure it’s a place where you’ll feel relaxed and comfortable.
8. Safety Checks and Final Setup
Before you start enjoying your sauna, it’s important to perform a few final safety checks. Double-check that all components are securely fastened and that the heater is working properly. Test the sauna for functionality to ensure it reaches the desired temperature and stays consistent.
Inspect all electrical connections for safety, and ensure there are no exposed wires or other hazards. Once you’ve confirmed that everything is in good working order, your home sauna is ready for use!
Enjoy Your New Outdoor Sauna!
Setting up an outdoor sauna kit is a rewarding process that provides long-term health benefits. By following these steps, you can create your own personal relaxation space in your backyard. Whether you’re looking to unwind after a long day or enhance your home wellness routine, an outdoor sauna is the perfect solution.

With careful planning and attention to detail, your home sauna will be up and running in no time, offering you years of enjoyment and health benefits. Enjoy the process and relax in your new sauna!