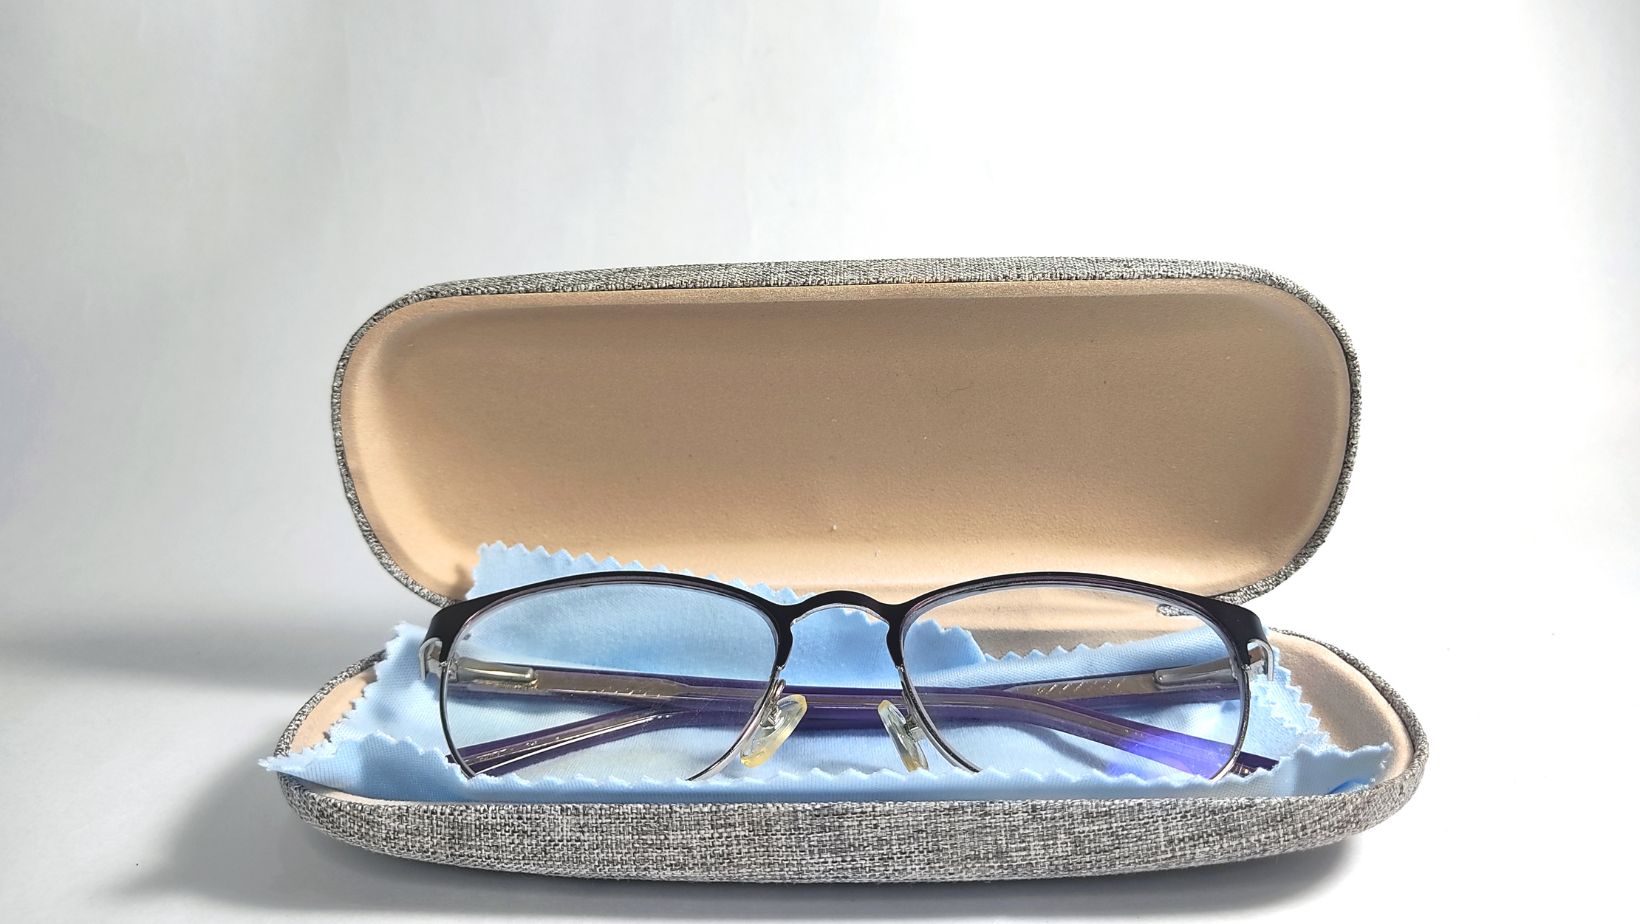
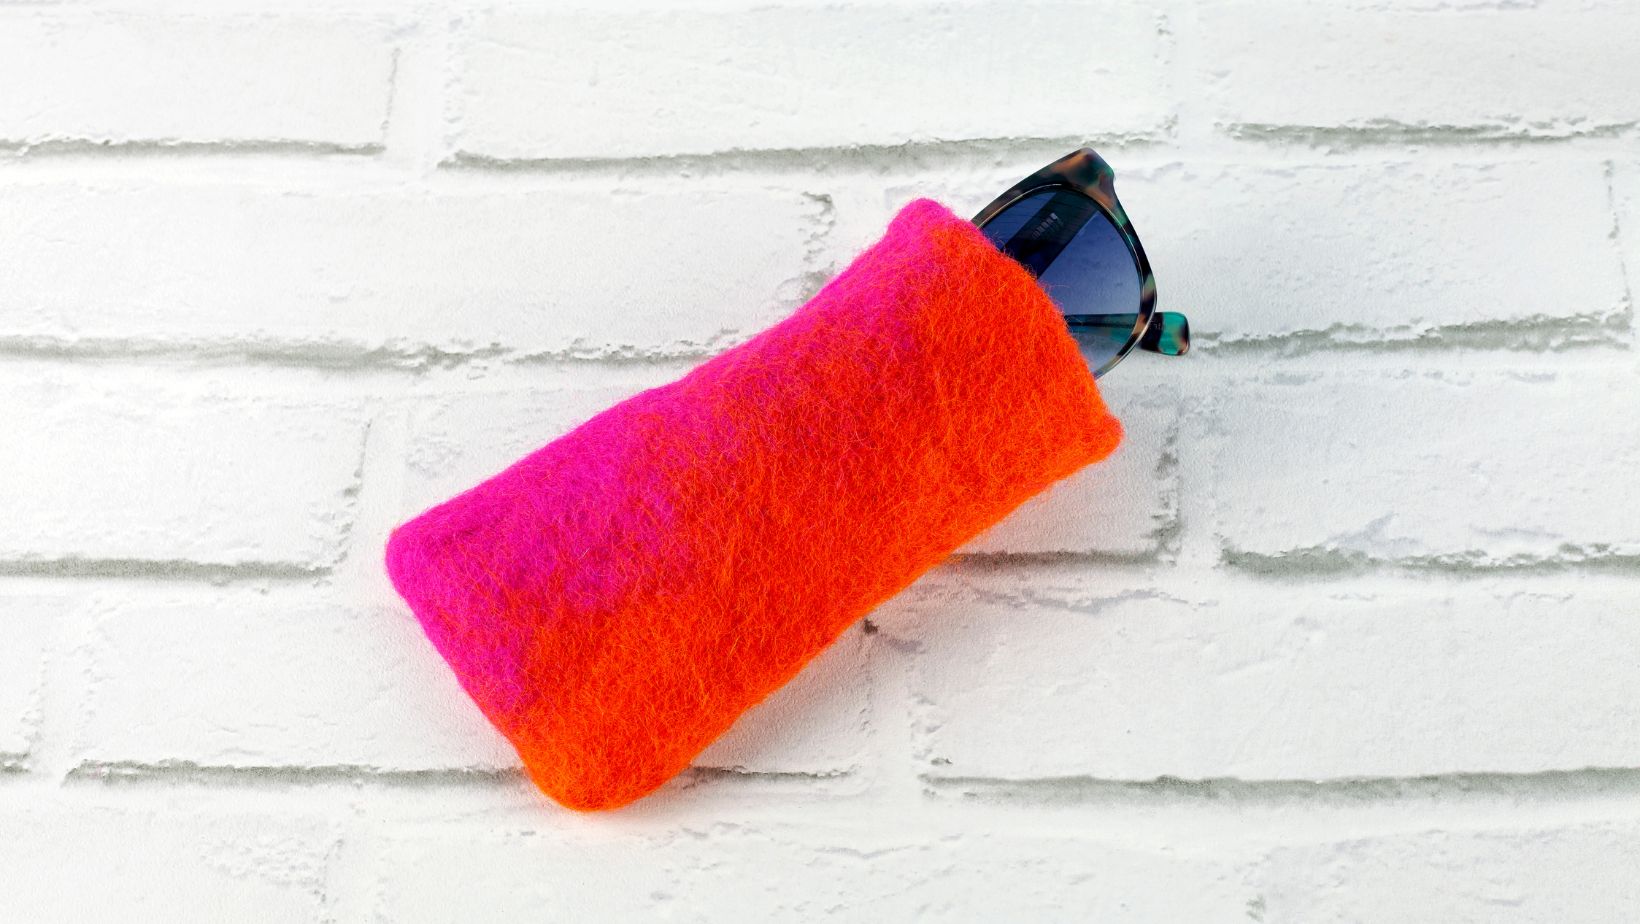
If you’re tired of misplacing or damaging your favorite sunglasses, making your own DIY sunnies case is the perfect solution. Not only is it a fun and creative project, but it also ensures your sunglasses stay protected in style. Whether you’re safeguarding your favorite pair of polarised sunglasses or keeping your everyday shades in one place, a personalized case is a great way to add a touch of flair to your accessories. Here’s how you can create the perfect sunnies case step by step.
Materials You’ll Need:
- Fabric of your choice (cotton, felt, or leather)
- Scissors
- Sewing machine or fabric glue
- Lining fabric for extra protection
- Velcro or a zipper for closure
- Decorative elements like buttons, embroidery, or patches
- Padding (optional for added protection)
- Measuring tape
- Iron (for fabric pressing)
Step 1: Choose Your Fabric
Selecting the right fabric is crucial for ensuring your sunglasses case is both stylish and durable. If you have delicate eyewear like multifocal glasses, opt for soft, padded fabric that provides extra cushioning. Leather or sturdy canvas fabrics are excellent choices for added durability. Consider color and pattern choices to personalize your case to match your style.
Step 2: Measure and Cut
Measure your sunglasses to determine the right size for your case. A standard size would be about 18 cm x 9 cm, but you can adjust it according to your needs. Use the measuring tape for accuracy and mark your fabric with chalk or fabric markers. Cut two pieces of your chosen fabric and two pieces of lining fabric. If you are using padding, cut it to match the fabric dimensions.

Step 3: Assemble the Case
Place the lining and outer fabric together with the right sides facing inward. Sew around the edges, leaving a small opening to turn the case right side out. If sewing isn’t your thing, fabric glue works just as well for assembling the case. Be sure to allow adequate drying time before handling. If adding padding, insert it between the fabric layers before sealing the case.
Step 4: Add a Closure
To keep your sunnies secure, attach a closure such as Velcro, a button, or a zipper. Velcro is a simple and effective option, while a zipper adds a professional touch to your DIY case. If using buttons, consider adding an elastic loop for easy fastening.
Step 5: Personalize Your Case
Now comes the fun part—decorating your sunnies case! You can add embroidery, fabric paint, or iron-on patches to give your case a unique look that reflects your personality. Adding your initials or favorite patterns can make it even more special.
Step 6: Final Touches
Once you’ve added your decorative elements, give the case a final press with an iron (if applicable) to ensure everything is secure and neatly finished. Check the seams and edges to make sure there are no loose threads or gaps.

Step 7: Test and Use
Before placing your sunglasses inside, test the case by inserting and removing them to ensure a snug yet accessible fit. Adjust any areas if needed to provide optimal protection and usability.
Conclusion
Creating your own sunglasses case is a rewarding DIY project that allows you to protect your eyewear with a personal touch. Whether you’re safeguarding your polarised sunglasses for outdoor adventures or keeping your multifocal glasses safe in your bag, a homemade case offers both functionality and style. By following these simple steps, you can enjoy a custom sunnies case that suits your needs while adding a creative touch to your accessories collection. Try this project today and enjoy crafting your perfect storage solution!


