Installing a picket fence is a great way to enhance your property’s curb appeal, provide security, and define your yard. However, successful fence installation in Toronto requires careful planning and preparation. Whether you’re installing a new fence yourself or hiring a contractor, preparing your yard properly is key to ensuring that your picket fence is both durable and aesthetically pleasing. Here’s a step-by-step guide on how to prepare your yard for a picket fence installation in Toronto.
1. Determine Fence Placement and Design
Before jumping into the installation process, it’s crucial to plan where you want your picket fence to go and how it will look.
Assess Your Property Boundaries
Start by checking your property boundaries to avoid any disputes with neighbors. In Toronto, property lines are crucial when planning a fence installation. You can find your property lines on your deed or hire a surveyor if needed. Marking the boundaries clearly ensures that your picket fence won’t be too close to neighboring properties and avoids potential legal issues.
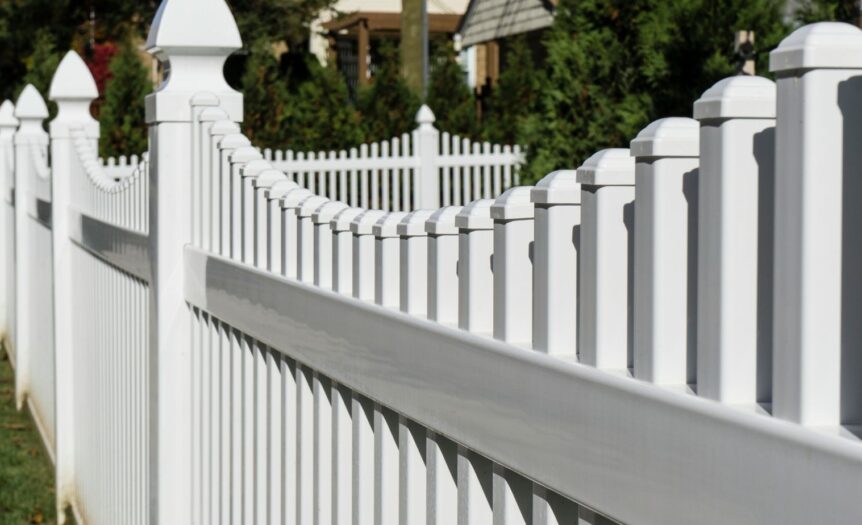
Choose Your Fence Design and Style
Next, consider the design of your picket fence. There are various styles available, ranging from classic, spaced-out pickets to more modern, tightly spaced options. The style you choose should complement your home’s design and your yard’s landscape. Additionally, think about the height of your fence, as local regulations might limit it, especially in urban areas like Toronto.
2. Obtain Necessary Permits
In Toronto, you may need to apply for permits before proceeding with a picket fence installation. Zoning regulations vary, so it’s essential to check local building codes. Ensure you follow the required guidelines to avoid fines or complications down the road. Most municipalities have rules about fence height, materials, and how close a fence can be to the property line.
3. Clear the Area for Installation
A critical part of preparing your yard for a picket fence installation in Toronto is ensuring the area is clear of obstacles. You’ll need a clean, flat surface to install the fence properly.
Remove Obstructions
Begin by clearing the area of rocks, old fencing, or any debris that could interfere with the installation. If there are trees or bushes along the fence line, you may need to trim them back or even remove them if they pose an obstruction.
Mark the Fence Line
Once the area is cleared, mark the exact location of the fence line. Use stakes, string, or spray paint to ensure your measurements are accurate.
It’s also important to consider where gates and corners will be placed to avoid surprises later on during installation.
4. Measure and Plan for Posts
Accurate measurements are essential for a straight, level picket fence.
Post Placement
When planning your fence, remember that posts typically need to be spaced 6 to 8 feet apart, depending on the design of the picket fence and local standards. This spacing ensures that the fence is structurally sound and aesthetically pleasing.
Digging Post Holes
For a solid fence installation, post holes should be dug to the proper depth, typically about one-third of the total post length. Depending on the soil, you may need a post hole digger or a power auger to make the work easier and more efficient. Properly placed posts are key to ensuring your fence stays upright and functional for years to come.
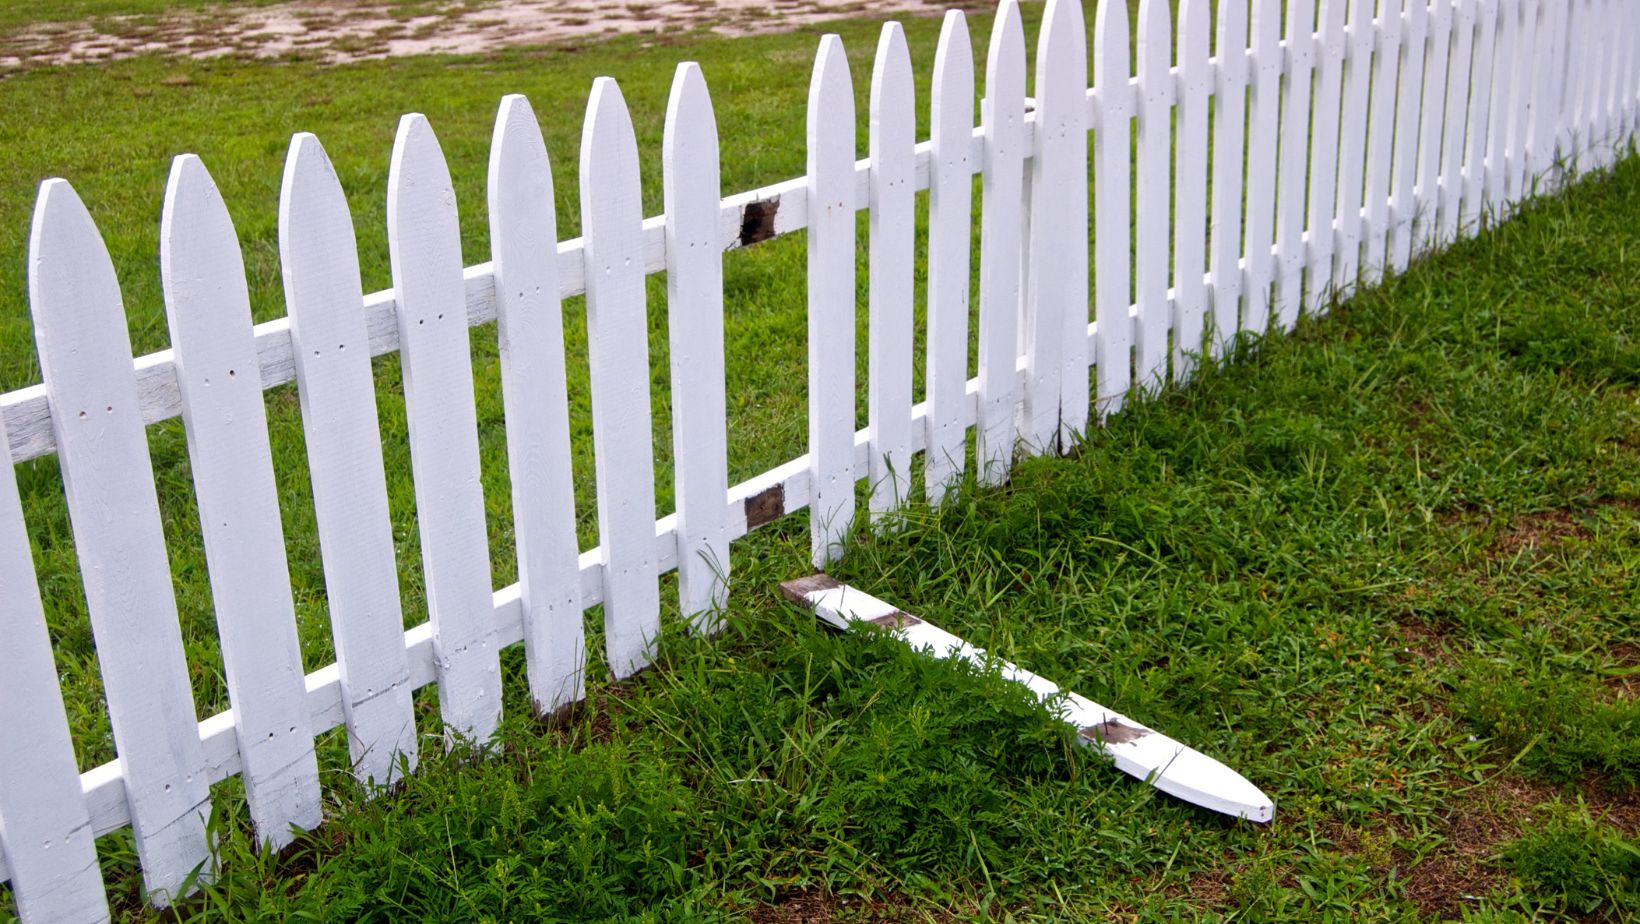
5. Prepare the Ground and Soil
The ground’s condition plays a vital role in the long-term stability of your picket fence.
Level the Ground
Take the time to level the area where the fence will go. Uneven ground can cause your fence to lean or appear crooked. Use a level to ensure that your posts and pickets will be straight.
Consider Drainage
Ensure the posts are installed in a way that allows water to flow away from them. Proper drainage prevents the fence from deteriorating due to water damage. If necessary, you can install gravel or other drainage solutions to keep the posts dry and secure.
6. Gather Tools and Materials
Before starting your fence installation in Toronto, ensure you have all the necessary tools and materials.
Tools You’ll Need
A successful picket fence installation requires the right tools. You’ll need a shovel, post hole digger, tape measure, hammer, level, and string to mark your fence line.
Having these tools on hand will make the installation process go smoothly.
Materials
When choosing materials for your picket fence, consider durability and maintenance. Pressure-treated wood is a common choice for pickets and posts due to its resistance to rot. You can also opt for vinyl or metal materials if you prefer a low-maintenance option. Ensure the materials are suitable for Toronto’s weather conditions, which can be harsh on outdoor structures.
7. Enlist Help or Hire a Professional
While fence installation in Toronto can be a DIY project, it can also be complex, especially if you have a large yard or uneven terrain. Consider your skills and the amount of time you can dedicate to the project. If you’re unsure or want to save time, hiring a professional fencing contractor can ensure that the job is done right.
Professionals will not only ensure that your picket fence is installed correctly but can also provide recommendations based on local conditions and regulations. If you choose to go the DIY route, having a few extra hands to help with post placement and heavy lifting will make the task much easier.
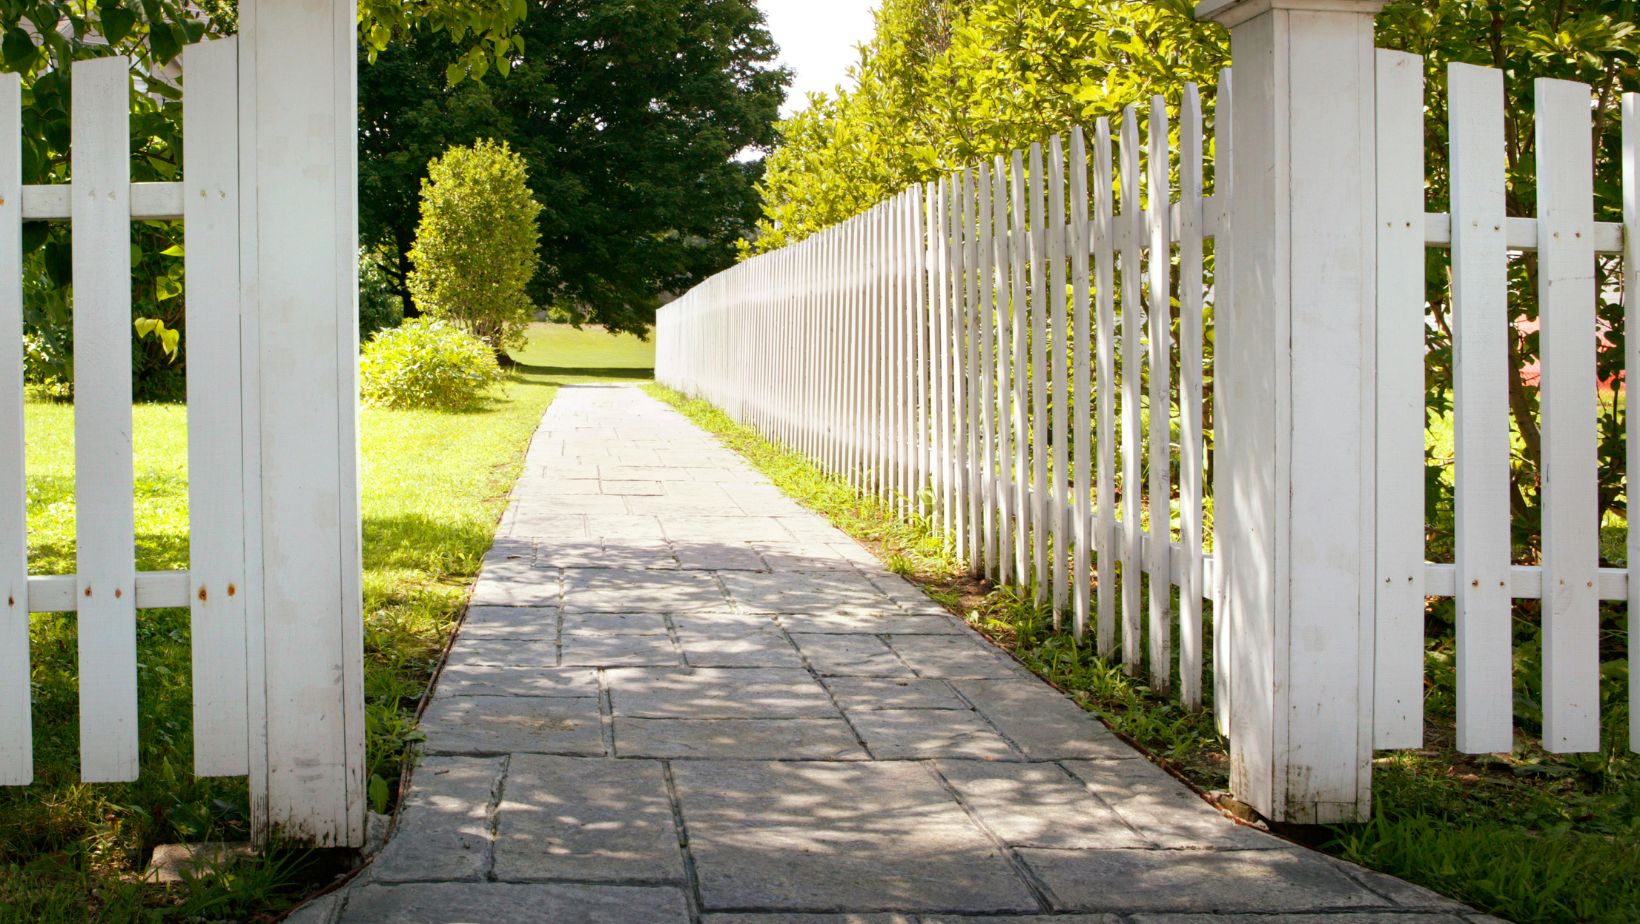
Get Ready for a Beautiful Picket Fence
Preparing your yard for picket fence installation involves more than just digging holes and putting up posts. Careful planning, measuring, and clearing the area are essential steps that will ensure your fence is both functional and beautiful. Whether you decide to take on the project yourself or hire a professional for fence installation in Toronto, following these steps will help you achieve the perfect picket fence to complement your property.
By starting with these preparations, you’ll not only enhance the look of your yard but also ensure that your fence lasts for years to come.