Picture this: you’re standing in the rain, juggling groceries and trying to remember the secret handshake to your garage door opener. Frustrating, right? Programming a garage opener might seem like a task fit for a tech wizard, but it’s easier than you think. With just a few simple steps, you’ll be rolling into your garage like a pro, leaving the rain and those awkward grocery juggles behind.
Understanding Garage Openers
Garage openers automate the opening and closing of garage doors. They enhance convenience and security, making access easier for users.
Types of Garage Openers
Chain drive openers use a metal chain to lift the door. They’re affordable and reliable, suitable for most situations. Belt drive openers operate quietly, making them ideal for homes with living spaces nearby. Screw drive openers involve fewer moving parts, requiring less maintenance and offering durability. Finally, direct drive openers utilize a stationary motor, providing the least noise and a long lifespan.
Key Features to Consider
Remote control compatibility is essential for convenience and flexibility. Safety sensors help prevent accidents by detecting obstacles in the door’s path. Battery backups ensure functionality during power outages, maintaining security and access. Smartphone integration allows users to monitor and control garage doors remotely. Lastly, noise level plays a critical role, especially in homes with attached garages, influencing the choice of a quieter opener.
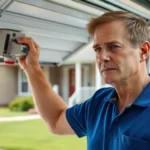
Preparing for Programming
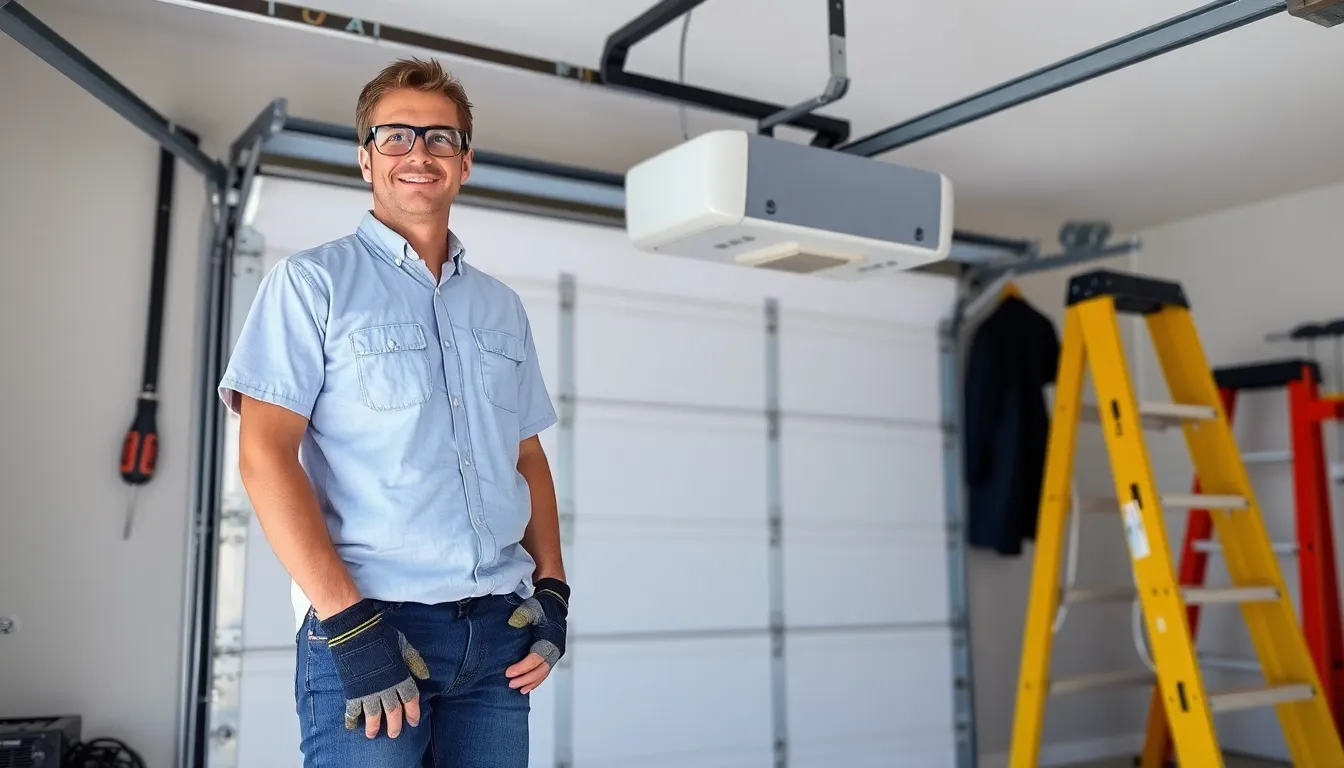
Preparing for programming a garage door opener involves gathering the right tools and understanding essential safety precautions. Proper preparation ensures a smooth setup process.
Tools You Will Need
Gather the following tools before starting: a screwdriver set, pliers, a ladder, a stud finder, a level, and a measuring tape. These tools help in securely installing the garage door opener and making necessary adjustments. A power drill simplifies the installation by creating pilot holes. Having an assistant may offer an extra set of hands, especially when lifting heavier components. Additionally, incorporating safety glasses protects eyes from debris during the installation.
Safety Precautions
Address safety precautions to ensure a secure programming process. First, disconnect the garage door opener from its power source before starting work. This action prevents accidental activation during installation. Next, read the manufacturer’s instructions thoroughly for specific safety tips. Verify that the garage door path is clear of obstructions to avoid injuries. Wearing gloves protects against cuts while handling metal components. Lastly, avoid standing directly under the door during testing to minimize risks if it closes unexpectedly.
Step-by-Step Guide on How to Program Garage Opener
Programming a garage opener consists of straightforward actions that simplify access to the garage. Follow these steps for an effective setup.
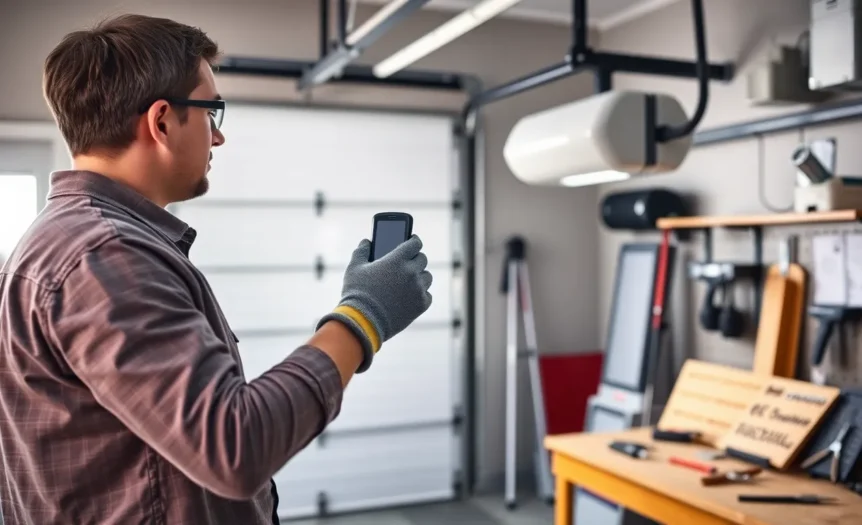
Programming a Remote Control
To program a remote control, start by locating the “Learn” button on the garage door opener. Press and hold this button until the indicator light turns on, then release it. Next, within 30 seconds, press the button on the remote control you intend to program. The indicator light will blink and then turn off, confirming successful programming. Make sure to test the remote after programming. If the door opens and closes, the process succeeded. If not, repeat the steps to ensure accuracy.
Syncing with Wall Control
Syncing the garage door opener with wall control involves simple steps. Begin by locating the “Learn” button on the garage motor unit. Press and hold this button until the light turns on. Immediately afterwards, press the button on the wall control you wish to sync. The light should blink and then turn off, indicating successful sync. Always test the wall control after programming to ensure full functionality. If it does not operate as expected, retrace steps to fix the issue.
Troubleshooting Common Issues
Various issues can occur when programming garage door openers. Identifying and resolving these problems ensures smooth operation.
Remote Not Responding
Remote controls sometimes fail to trigger the garage door opener. Checking the batteries is the first step; weak or dead batteries prevent functionality. After that, confirming the distance from the opener matters. Sometimes, obstacles between the remote and opener can interfere with the signal. If the remote still doesn’t respond, reprogramming it according to the manufacturer’s instructions often resolves the issue. Inspecting the remote for physical damage or wear is essential, as well. Replacing the remote comes into play if problems persist after these checks.
Wall Control Malfunctions
Wall control units can exhibit issues when programming the garage door opener. Testing the wall switch by pressing it can clarify whether there’s an unresponsive unit. If the switch shows no reaction, verifying the wiring connections becomes necessary. Loose or damaged wires can obstruct communication between the control and the garage door opener. Checking the power supply also helps; a blown fuse or tripped breaker disrupts functionality. In some cases, the wall control may need reprogramming, similar to the remote process. Replacing the unit is a final option if malfunctions continue after these steps.
Conclusion
Programming a garage door opener doesn’t have to be a daunting task. With the right tools and a clear understanding of the steps involved, anyone can master the process. By following the guidelines provided, users can enhance their convenience and security at home.
Whether it’s ensuring smooth operation or troubleshooting common issues, being informed makes all the difference. Taking the time to program the opener correctly leads to a seamless experience every time the garage door is used. Embracing these simple practices can transform a frustrating chore into an effortless routine.