If you’ve ever looked at a tiled space and thought, “Wow, that looks sharp,” chances are, tile trim played a big role in that polished finish. Tile trim isn’t just a fancy detail—it’s a functional and aesthetic powerhouse in tiling projects. From bathrooms to backsplashes, trim ensures clean edges, protects tiles from damage, and adds a crisp, professional touch.
In this article, we’re diving deep into how to use tile trim the right way. We’ll break down the different types of trim, when and where to use them, the materials they come in, and how to match them to your design style. For those exploring quality tile edging and trim options, there’s a wide variety available to suit both traditional and modern spaces.
Then, we’ll guide you through a step-by-step installation process and even share how to clean and maintain your trim for long-lasting beauty. Whether you’re a first-timer or a DIY regular, by the end of this guide, you’ll know exactly how to take your tiling game to the next level—with trim that turns heads and stands the test of time. Let’s get started!
Types of Trim You’ll Work With
There’s more than one way to edge a tile.
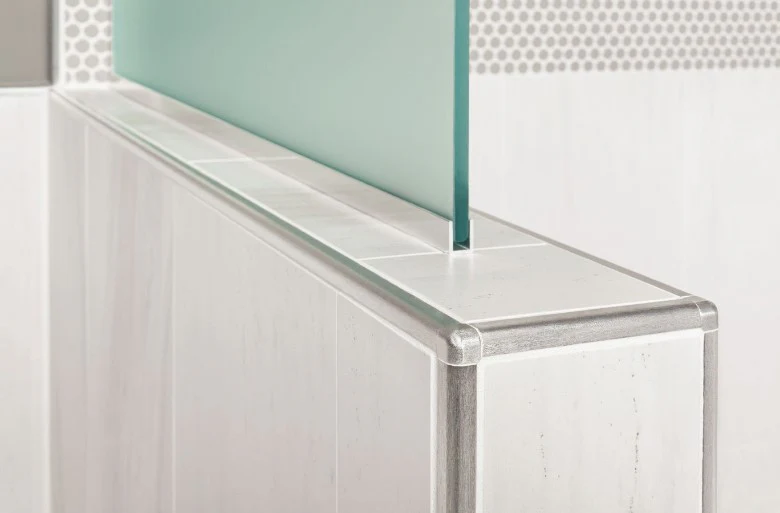
One of the most common is bullnose tile trim, which features a rounded edge. It’s often used to cap off the ends of a tiled wall or surface to create a smooth transition. It’s classic, clean, and works well with most tile styles.
Then there’s pencil trim, which is slim, rounded, and ideal for bordering tiled areas or adding fine detail. If you’re aiming for a neat frame or simply want to define boundaries between tiles, pencil trim is your go-to. Want something a bit more modern? Go with metal edge trim—sleek lines, lots of finish options like chrome or bronze, and it adds a contemporary edge while protecting corners from chipping.
Choosing the Right Material
Material choice affects durability and design.
The two most common tile trim materials are ceramic and metal. Ceramic trim is a natural choice if your tiles are ceramic—it blends seamlessly and comes in various colors and finishes to match your setup. It’s ideal for traditional looks and cohesive design.
Metal trim, on the other hand, is perfect for modern or industrial styles. It’s not just about looks—it’s also ultra-durable and resists moisture and corrosion. If you’re trimming around a shower or high-traffic floor area, metal adds style and strength.
Where Tile Trim Makes the Difference
Think beyond just the edges.
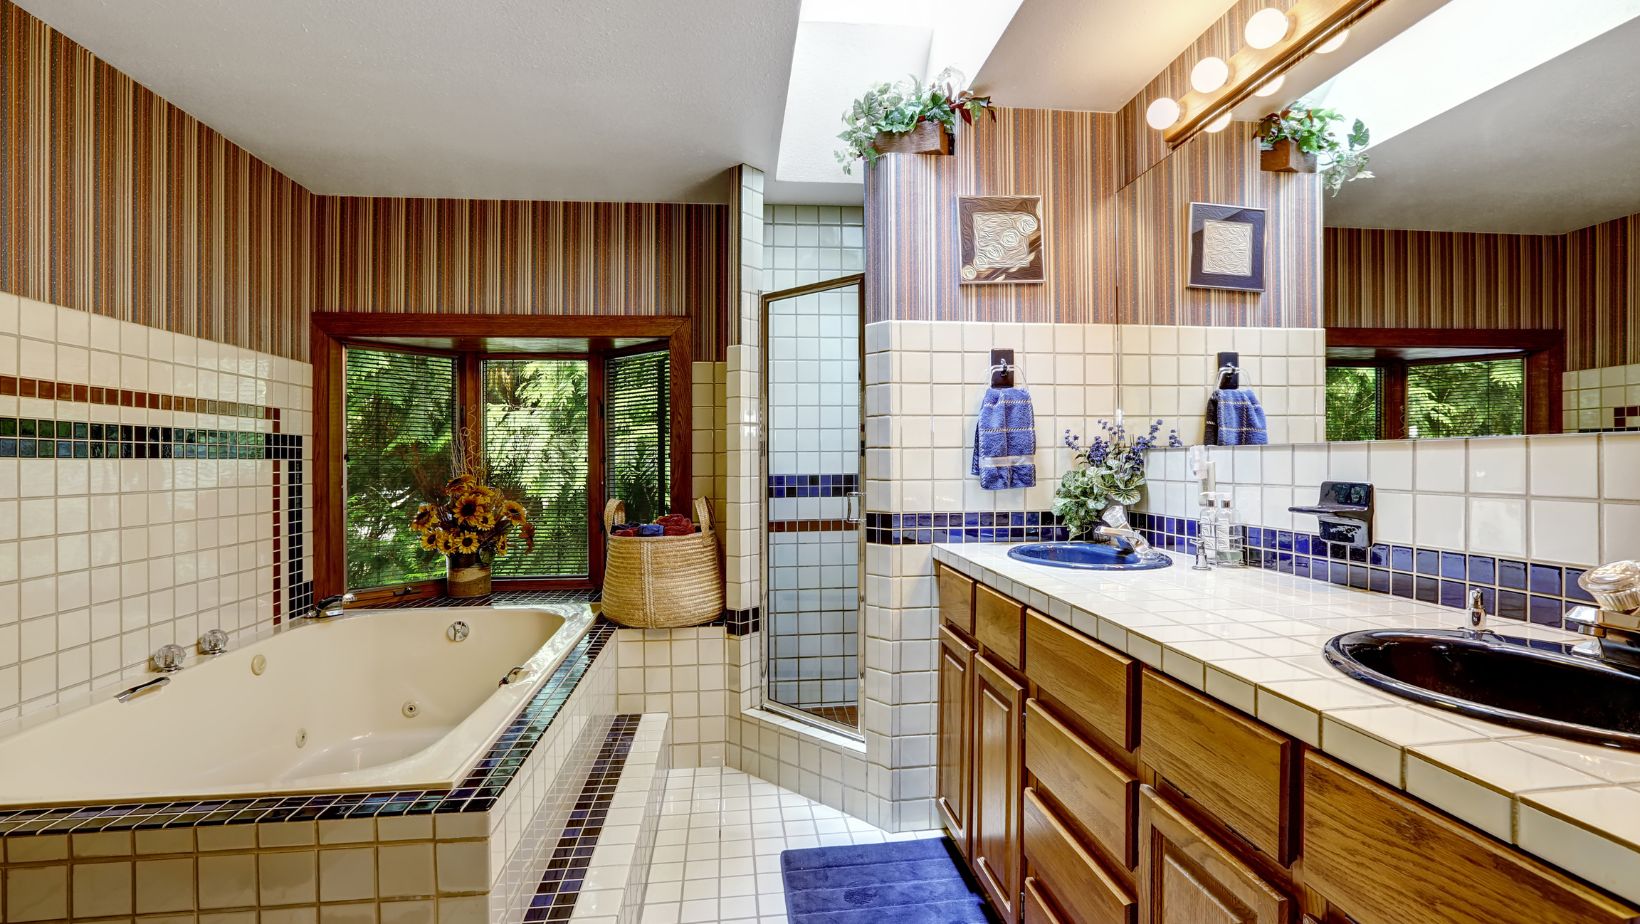
Tile trim is essential wherever a tiled edge meets another surface. That includes corners, where it prevents chips, especially in high-traffic zones. It also shines at transitions, like from a tiled floor to hardwood or carpet, giving a smooth finish that’s safer and better looking.
Trim also steps up your design game when used decoratively. Frame a shower niche, outline a backsplash, or define tiled wall sections—it’s a simple way to add depth and visual interest without extra tiles.
Key Factors to Consider Before Buying
Not all trim fits all projects.
Start with the project area. A bathroom might need moisture-resistant materials, while a kitchen backsplash might allow more design freedom. Next, consider functionality—is the area exposed to wear and tear, or just for show?
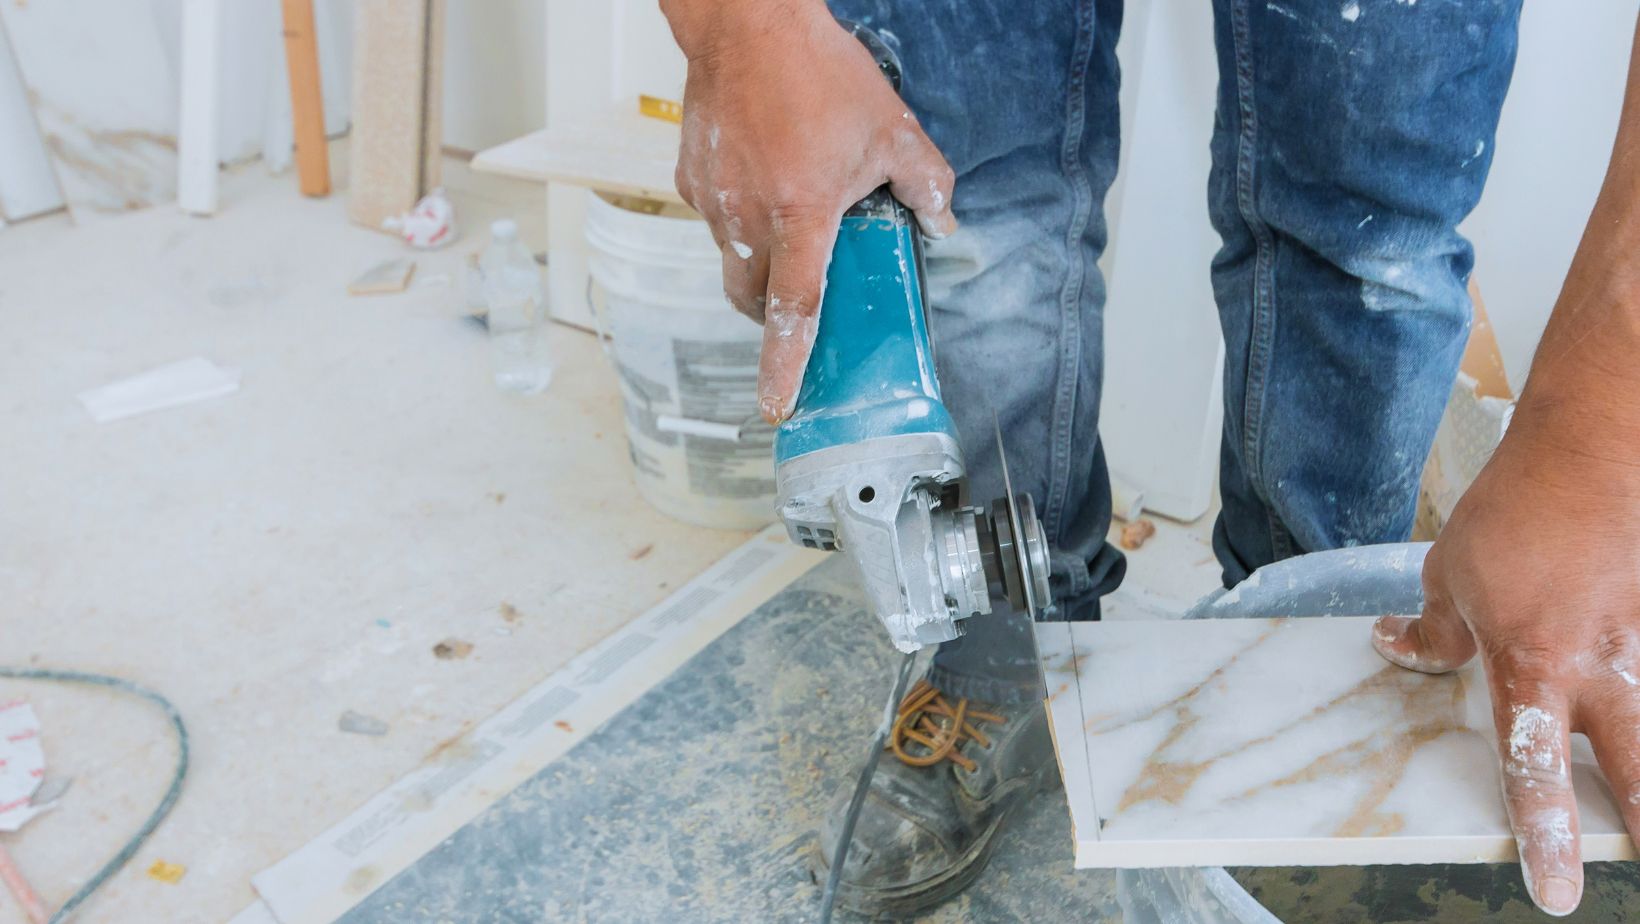
Don’t forget tile thickness—your trim needs to match so that everything lines up flush. Then choose a profile: quarter-rounds for soft corners, pencils for borders. Consider color and finish as well. Should the trim blend in, or pop? Always get samples to visualize how everything ties together before committing.

