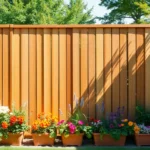
A wooden fence isn’t just a boundary; it’s a statement. It says, “I value my privacy and my yard looks fabulous!” Imagine transforming your outdoor space into a cozy retreat, all while keeping the neighbors from peeking at your questionable gardening choices. Installing a wooden fence can elevate your home’s curb appeal and provide a sense of security that even the most mischievous raccoon can’t breach.
Wooden Fence Installation
Wooden fence installation involves several key steps that ensure durability and functionality. First, determining the purpose of the fence guides material selection and design. The right choice, whether for privacy, aesthetics, or boundary marking, hinges on individual needs.
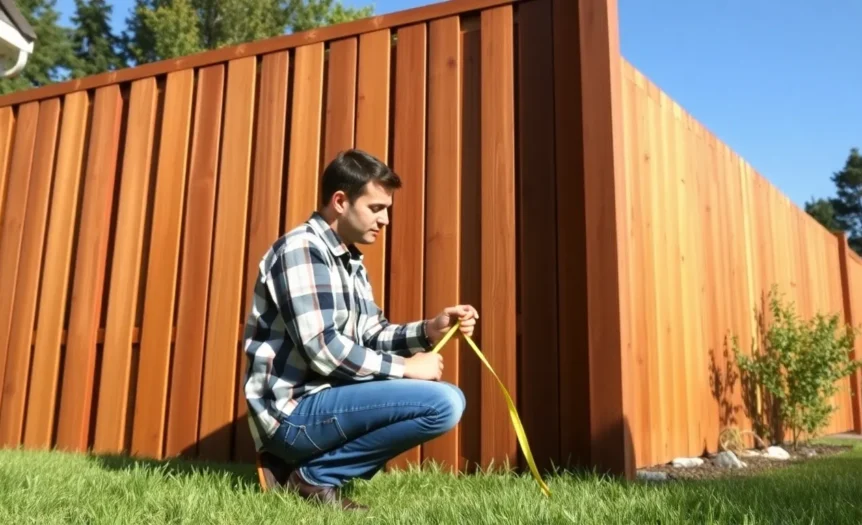
Next, measuring and marking the installation area is crucial. This process outlines the fence’s layout, ensuring accuracy and precision. Proper spacing between posts typically ranges from six to eight feet, balancing strength and material efficiency.
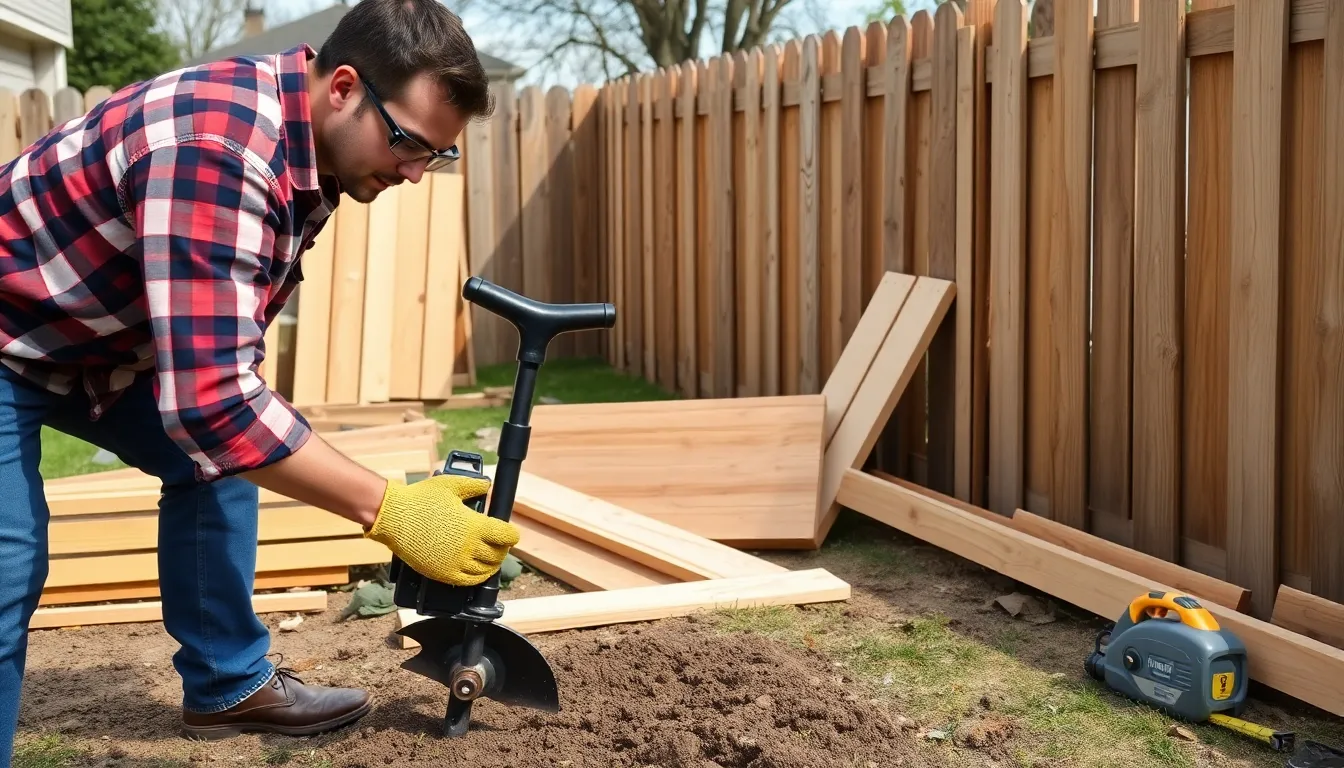
Digging post holes follows, with depth recommendations of at least one-third of the fence post’s length. Using concrete or gravel provides stability. Fence posts should remain vertical during concrete setting, allowing minimal movement.
Once the posts are securely in place, attaching the horizontal rails comes next. Connecting these rails creates a strong framework that supports the fence panels. Installation techniques can vary based on panel styles, including picket or board-on-board designs.
Selecting the right stains or sealants enhances wood protection against the elements. Regular maintenance not only prolongs the life of the fence but also maintains its visual appeal. Performing routine inspections helps identify issues early, preventing more extensive repairs.
In busy neighborhoods or windy areas, installing additional support may be beneficial. Height considerations play a significant role in ensuring the fence meets local regulations while providing desired privacy without compromising aesthetics.
Consulting with professionals offers valuable insights into design options and installation best practices. Expert guidance can simplify the process and ensure compliance with zoning laws. Understanding these elements leads to successful wooden fence installation that enhances outdoor spaces significantly.
Tools and Materials Needed
Proper tools and materials ensure wooden fence installation is efficient and effective. Selecting the right items makes the process smoother and more successful.
Essential Tools
A post hole digger allows for digging deep holes for fence posts. A level ensures posts are straight and plumb. A tape measure helps in marking accurate distances between posts. A saw cuts wooden panels and rails to size. A hammer helps secure nails, while a drill drives screws effectively. Safety glasses protect eyes during work. Additionally, gloves provide hand protection, helping prevent injuries.
Recommended Materials
Wooden fence panels are the primary material for creating the fence structure. Pressure-treated wood typically resists rot and insect damage. Concrete provides stability by securing fence posts in the ground. Screws or nails attach panels to the framework effectively. Stains and sealants protect wood from moisture and UV damage. Fence posts support the overall structure and should match desired aesthetics. Fence rails connect panels and provide strength and stability.
Step-by-Step Installation Process
Wooden fence installation involves careful planning and execution. Following a systematic approach ensures a sturdy, long-lasting barrier that meets aesthetic and functional needs.
Planning and Design
Establishing a clear plan is crucial. Determine the fence’s purpose to dictate design choices and material types. Choose between solid, picket, or shadowbox styles based on desired privacy levels and visual appeal. Measuring the area accurately ensures proper spacing, typically between six to eight feet between posts. Identify any local building codes and obtain necessary permits for compliance.
Preparing the Site
Clearing the installation area precedes digging. Remove any obstacles such as rocks, shrubs, or debris. Mark post locations using stakes and string for an accurate layout. Check for underground utilities by contacting local utility companies, preventing damage during excavation. Level the ground as much as possible to set a strong foundation.
Installing Fence Posts
Starting with hole digging, typical post holes should be at least 2 feet deep. Utilize a post hole digger for efficiency in this task. Once the holes are ready, position the posts vertically and check for plumb using a level. Pour concrete or gravel around the posts for stability, ensuring they remain straight while curing. Allow at least 24 to 48 hours for the concrete to set properly.
Attaching Panels and Gates
Begin by securing horizontal rails to the installed posts. Attach panels next, aligning them evenly for aesthetics and functionality. Use screws or nails for secure connections, ensuring the panels remain sturdy against wind and pressure. Finally, install gates where needed, checking that they open and close smoothly. Regularly inspect these components to maintain optimal performance.
Maintenance Tips for Wooden Fences
Proper maintenance enhances the lifespan and appearance of wooden fences. Implementing regular care ensures the fence remains sturdy and visually appealing.
Regular Inspections
Routine inspections identify potential issues early. Check for signs of rot, damage, or insect infestations. Look for loose boards or leaning posts that may require repairs. Inspect the fence at least twice a year, ideally in spring and fall. Noticing problems sooner allows for quicker resolutions, preventing costly repairs later. Keeping track of any changes ensures optimal performance throughout the year.
Treatment and Staining
Applying treatment and stains protects the wood from weather elements. Choose high-quality stains specifically designed for exterior use. These products help prevent moisture penetration and UV damage. Re-stain the fence every three to five years to maintain its durability. Prioritize treatment immediately after installation. This initial care sets the foundation for long-lasting protection. Selecting a color that complements the surrounding landscape enhances the overall aesthetics as well.
Conclusion
A wooden fence serves as more than just a boundary; it’s an investment in privacy and aesthetics. By following the outlined installation steps and prioritizing maintenance, homeowners can ensure their fence remains a beautiful and functional part of their outdoor space for years to come.
Careful planning and attention to detail during installation can make all the difference in achieving a durable structure. Regular inspections and timely treatments will help protect the wood from the elements and extend its lifespan. Embracing these practices not only enhances the fence’s appearance but also contributes to a more secure and inviting home environment.