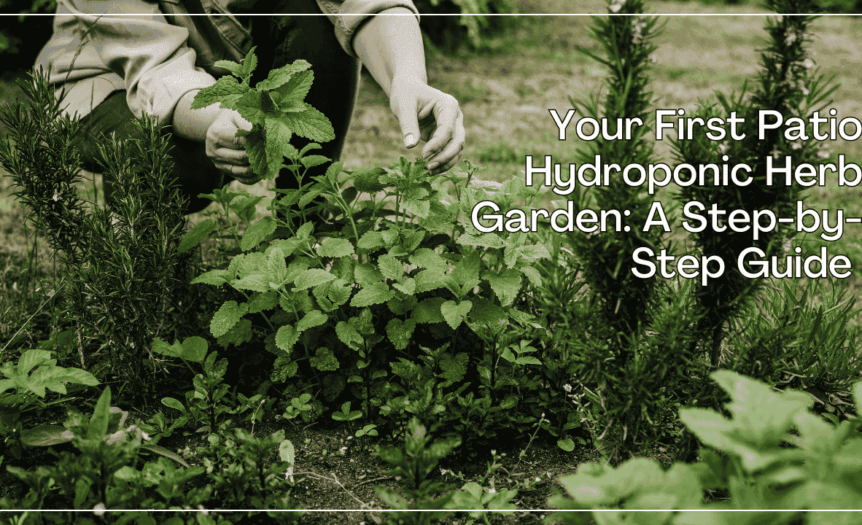
Imagine stepping onto your patio to snip fresh basil for your pasta or mint for your iced tea, all from a compact, self-contained garden sitting right on your table. This isn’t a far-off dream; it’s the reality of a personal hydroponic herb garden. Forget digging in heavy soil bags or worrying about pests. Hydroponics offers a clean, efficient, and surprisingly simple way to grow vibrant herbs, perfectly suited for the modern patio or outdoor kitchen space.
So, what’s the secret? Hydroponics. It’s a method of growing plants without soil, using a water-based nutrient solution instead. Let’s walk through how you can set up your very own.
Why Choose Hydroponics for Your Patio?
Before starting to build, you might be wondering why you should go soil-free. For a patio or balcony setting, the benefits are significant. Hydroponic systems are incredibly space-efficient, allowing you to grow a surprising amount of produce in a small footprint. They are also cleaner, eliminating the mess of soil and reducing the risk of soil-borne pests and diseases. Beyond the convenience, the efficiency is remarkable; a well-managed hydroponic herb garden uses less water than traditional soil-based methods, making it a sustainable choice for any patio. The result is often faster growth and more robust plants, giving you a quicker path to fresh, homegrown flavor.
Choosing the Best Herbs for Your System
While many plants thrive in hydroponics, some are particularly well-suited for beginners and compact systems. You’ll want herbs that grow quickly and don’t have massive root systems. Herbs like basil, mint, parsley, chives, and oregano are excellent choices, according to Hydroponics360. These herbs love the consistent moisture and nutrient supply, and they are perfect for culinary use, bringing instant value to your outdoor kitchen.
Gathering Your Supplies: What You’ll Need
Creating a simple deep-water culture (DWC) system is one of the easiest entry points into hydroponics. It sounds technical, but it’s incredibly straightforward. You won’t need a workshop full of tools, just a few key items.
- A Container: A simple 5-gallon opaque plastic storage bin with a lid works perfectly. Opaqueness is key to preventing algae growth.
- Net Pots: These small, slotted plastic pots will hold your herbs. You’ll need one for each plant (4-6 is a good start for a 5-gallon bin).
- Growing Medium: Instead of soil, you’ll use an inert medium like clay pebbles (LECA) or perlite to support the plant roots.
- Aquarium Air Pump & Air Stone: This is the heart of the system. The pump pushes air through a tube to the air stone, which sits in the water and creates bubbles to oxygenate the roots.
- Hydroponic Nutrients: You’ll need a liquid nutrient formula specifically designed for hydroponics. These usually come in a two- or three-part mix.
- Herb Seedlings: For your first time, starting with small seedlings from a local nursery is much easier than starting from seed.
The Step-by-Step Setup Process
With your supplies in hand, assembling your patio garden is a quick and satisfying project.
- Prepare the Lid: Use a drill with a hole saw bit that matches the diameter of your net pots. Drill 4 to 6 evenly spaced holes in the lid of your plastic bin. This is where your plants will sit. Also, drill a small hole in a corner just large enough for the airline tubing to pass through.
- Set Up the Aeration: Place the air stone at the bottom of the bin. Connect one end of the airline tubing to it and feed the other end out through the small hole you drilled in the lid. Connect this end to your air pump.
- Mix the Nutrient Solution: Fill the bin with water, leaving about an inch of space at the top. Following the instructions on your nutrient bottle, add the nutrients to the water and stir well. Getting the right nutrient balance is crucial for plant health.
- Plant Your Herbs: Gently remove your herb seedlings from their soil, rinsing the roots carefully to remove as much dirt as possible. Place a layer of clay pebbles in the bottom of a net pot, carefully thread the plant’s roots through, and fill the surrounding space with more pebbles to hold it securely.
- Assemble and Activate: Place each planted net pot into the holes in your lid. The bottom of the pots should be submerged about half an inch into the nutrient solution. Put the lid on the bin, plug in your air pump, and watch for bubbles. Your hydroponic garden is now live!
Ongoing Care and Maintenance
Your hydroponic garden is low-maintenance, but not zero-maintenance. A few simple checks will keep it thriving. Every few days, check the water level and top it off with plain, pH-balanced water if needed. Make sure the air pump is running continuously to keep the roots oxygenated. As your herbs grow, don’t be afraid to harvest them. Regular trimming encourages bushier, healthier growth and gives you a steady supply of fresh flavors.
Frequently Asked Questions
How much sunlight does my hydroponic herb garden need?
Most culinary herbs need at least 6-8 hours of direct sunlight per day. Place your container on a sunny part of your patio. If you have a shadier spot, consider herbs that tolerate less light, such as mint or parsley.
Can I start with seeds instead of seedlings?
Absolutely. You can use a starter plug (like Rockwool) to germinate seeds. Once they sprout and develop a small root system, you can transfer the plug directly into a net pot. This method just takes a bit more time and patience than using established seedlings.
How often do I need to change the water and nutrient solution completely?
For a small system like this, it’s a good practice to completely empty the container and refill it with a fresh batch of water and nutrients every 2 to 3 weeks. This prevents nutrient imbalances and keeps the environment clean for the roots.
Is the air pump noisy? Will it bother me on my patio?
Most small aquarium air pumps are very quiet, producing a gentle humming sound. It’s typically unnoticeable in an outdoor environment with ambient noise. If you are concerned, look for models specifically marketed as “silent” or “quiet.”