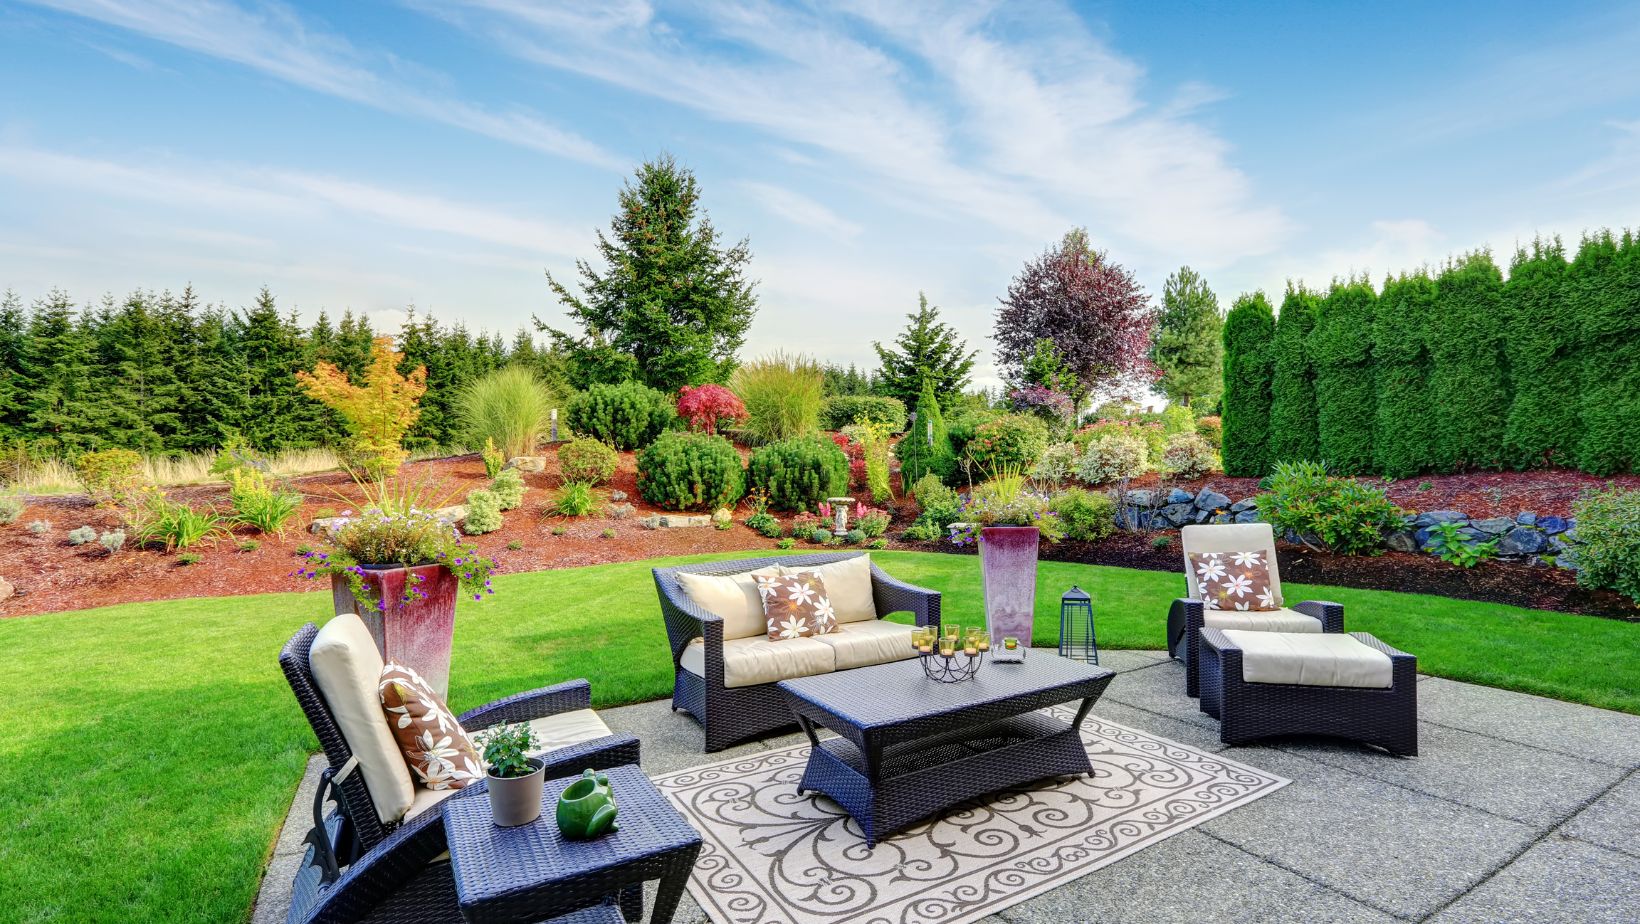
Firstly, let’s talk about the benefits of having a grill gazebo. Not only does it provide shelter from the elements while you cook up delicious meals, but it also adds a touch of elegance to your outdoor space. Whether you’re hosting summer barbecues or simply enjoying a quiet evening grilling with family and friends, a well-designed grill gazebo enhances both aesthetics and practicality.
Now, onto the exciting part: building your own DIY grill gazebo! The beauty of this project is that it allows for customization based on your specific needs and preferences. From choosing the right materials to designing the layout, I’ll walk you through each step to ensure success. So grab your tools and get ready to embark on an adventure in creating your very own DIY grill gazebo!

Diy Grill Gazebo
Building your own DIY grill gazebo can be a rewarding and enjoyable project for any outdoor enthusiast. Whether you’re a seasoned DIYer or just starting out, this step-by-step guide will help you create the perfect space to cook and entertain in your backyard.
- Plan and Design: Start by determining the size and location of your grill gazebo. Measure the area where you want it to be placed, considering factors such as clearance from surrounding structures, accessibility, and proximity to utilities if needed. Sketch out a design that suits your preferences and complements your outdoor space.
- Gather Materials: Once you have a clear plan, make a list of all the materials you’ll need for construction. This may include lumber, screws, roofing materials, concrete footings (if necessary), hardware, and any additional features like shelves or countertops. Visit your local home improvement store or search online for the best prices and quality materials.
- Prepare the Site: Clear the designated area of any debris or vegetation. Level the ground using a shovel or rake to ensure a stable foundation for your grill gazebo. If required by local building codes or personal preference, pour concrete footings at each corner to anchor the structure securely.
- Build the Frame: Using your measurements and design plan as a guide, begin constructing the frame of your grill gazebo using pressure-treated lumber or cedar boards for durability against weather conditions. Cut each piece according to specifications and secure them together with screws or nails.
- Add Roofing: Choose an appropriate roofing material based on climate factors such as rain frequency and sun exposure in your area. Popular options include corrugated metal sheets, polycarbonate panels, or even thatch for a tropical look. Install the roofing material carefully following manufacturer instructions to ensure proper water drainage.
- Customize Your Space: Now comes the fun part! Customize your grill gazebo to suit your needs and personal style. Consider adding shelves or hooks for utensils, a countertop for food preparation, or even built-in seating for guests. Paint or stain the structure to protect it from the elements and give it a polished finish.
Remember, safety should always be a priority when undertaking any DIY project. If you’re unsure about any step of the process, consult with a professional or seek guidance from experienced builders in online forums or local communities.
By following this step-by-step guide, you’ll soon have your very own DIY grill gazebo where you can enjoy cooking delicious meals outdoors while creating lasting memories with family and friends. Happy building!
Conclusion
In conclusion, building a DIY grill gazebo is a rewarding and practical project for any outdoor enthusiast. Remember, safety should always be a top priority when undertaking any DIY project involving construction or power tools. Follow proper safety guidelines and consult professionals if needed.
By following the steps outlined in this article and exercising patience throughout the process, you’ll be able to enjoy countless memorable moments with family and friends in your very own DIY grill gazebo.


