
Recently, you have noticed that your clothes take too long to dry when you put them in a dryer. You have also found out that they have a burning smell when you take them from your dryer. You wonder what the problem could be. If this is the case, you should consider dryer vent cleaning right away. These are warning signs that your dryer vent might be clogged due to excessive accumulation of lint and debris.
If not cleaned, the lint could cause fire due to excessive power generated by your dryer as it works. In fact, it has been reported that many domestic fires are caused by clogged dryer vents. As such, homeowners are advised to clean the dryer vent at least once or twice per year. Luckily, cleaning dryer vent inMississaugais straightforward if you get the right cleaning tools. Follow these steps if you want to clean your dryer vents.
1.Step 1. Tools That You Will Need
You will need a screwdriver, safety gloves, a vacuum with a hose attachment and a dryer vent cleaning kit (It comes with brushes and rods that you connect to clean deep inside the dryer vent).
2.Step 2. Disconnect the Dryer
Take the power cord off the power supply before you start anything. If you use gas, make sure to turn the gas source off. To work without interference and create ample space, you should consider pulling away the dryer from the wall. Ensure that the duct is removed safely from the dryer and the wall. Depending on how firm the duct is attached, you may need to use your screwdriver. However, in some cases, it is easy to remove it with your hands.
Locate the exterior vent, which is normally located near the ground or the ceiling on the outside, and remove its cover. This makes it easy to clean using your brush.
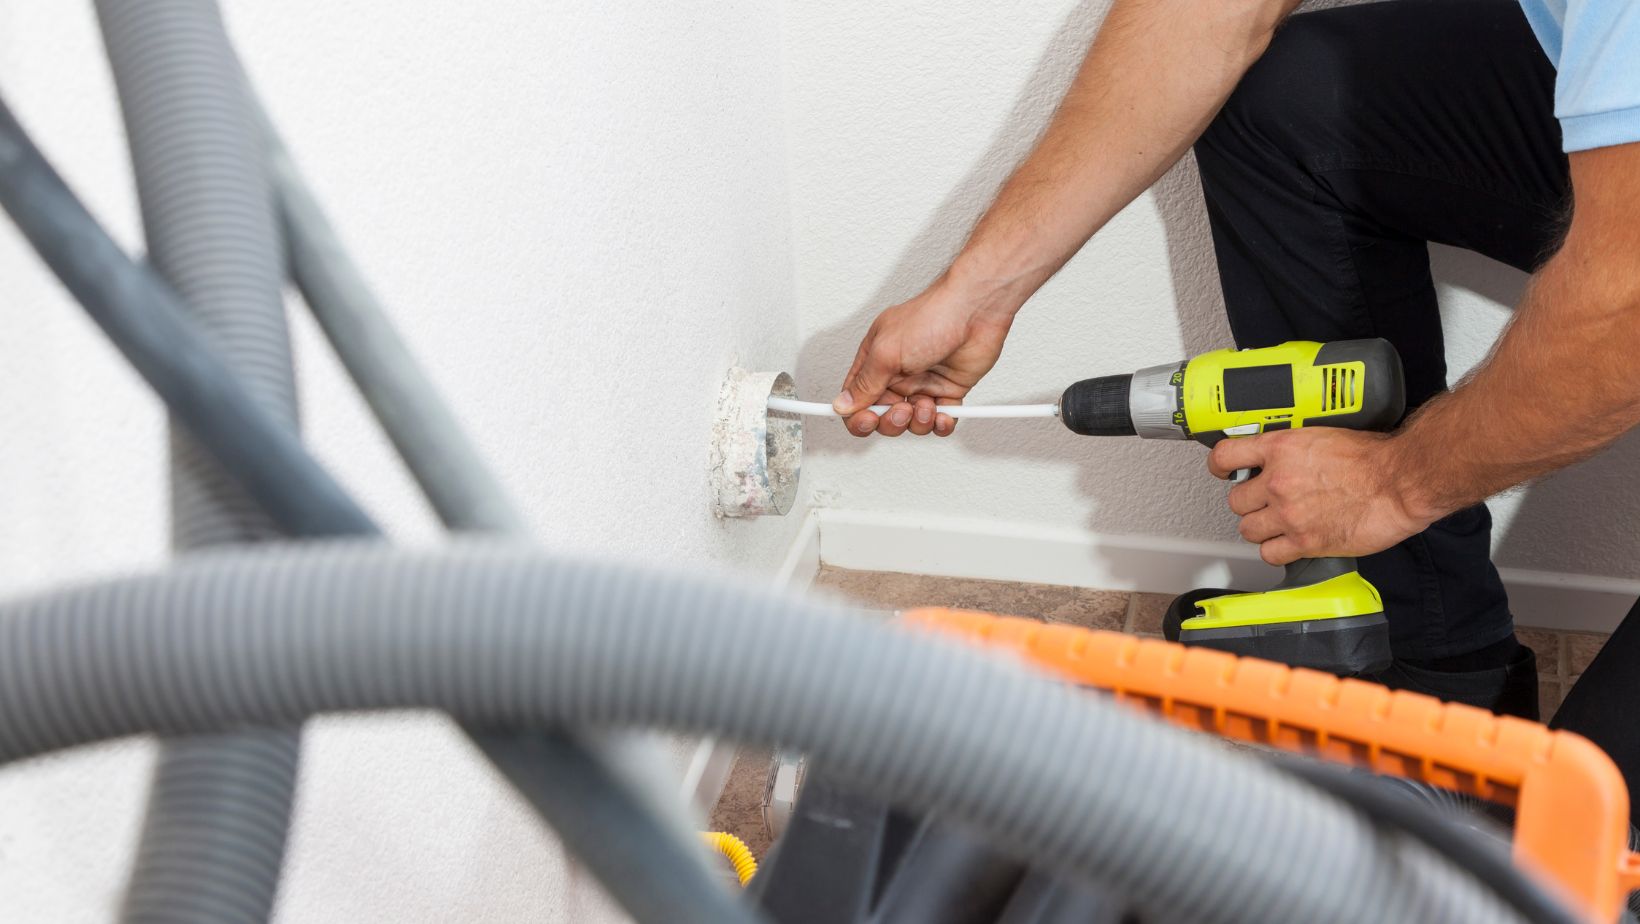
3.Step 3: Clean the Vent Using Your Brush Kit
Connect the flexible rods to the brush and start cleaning by inserting the brush slowly inside the vent and spinning it in a fourth and back motion to get rid of all the debris and lint. Continue this process until you cannot feel or see any debris or lint in the vent. If you cannot reach the end of the vent, add more rods to access those deep areas. Once your vent is lint-free, turn to your duct and dryer and thoroughly clean its inside.
Do not worry if you see some flying debris inside. That is normal during a dryer vent cleaning in Mississauga. That debris is probable since you have disturbed the lint by breaking it into smaller matters. This will be eliminated in the next step, which involves vacuuming the inside of your dryer vent to eradicate any lingering debris.
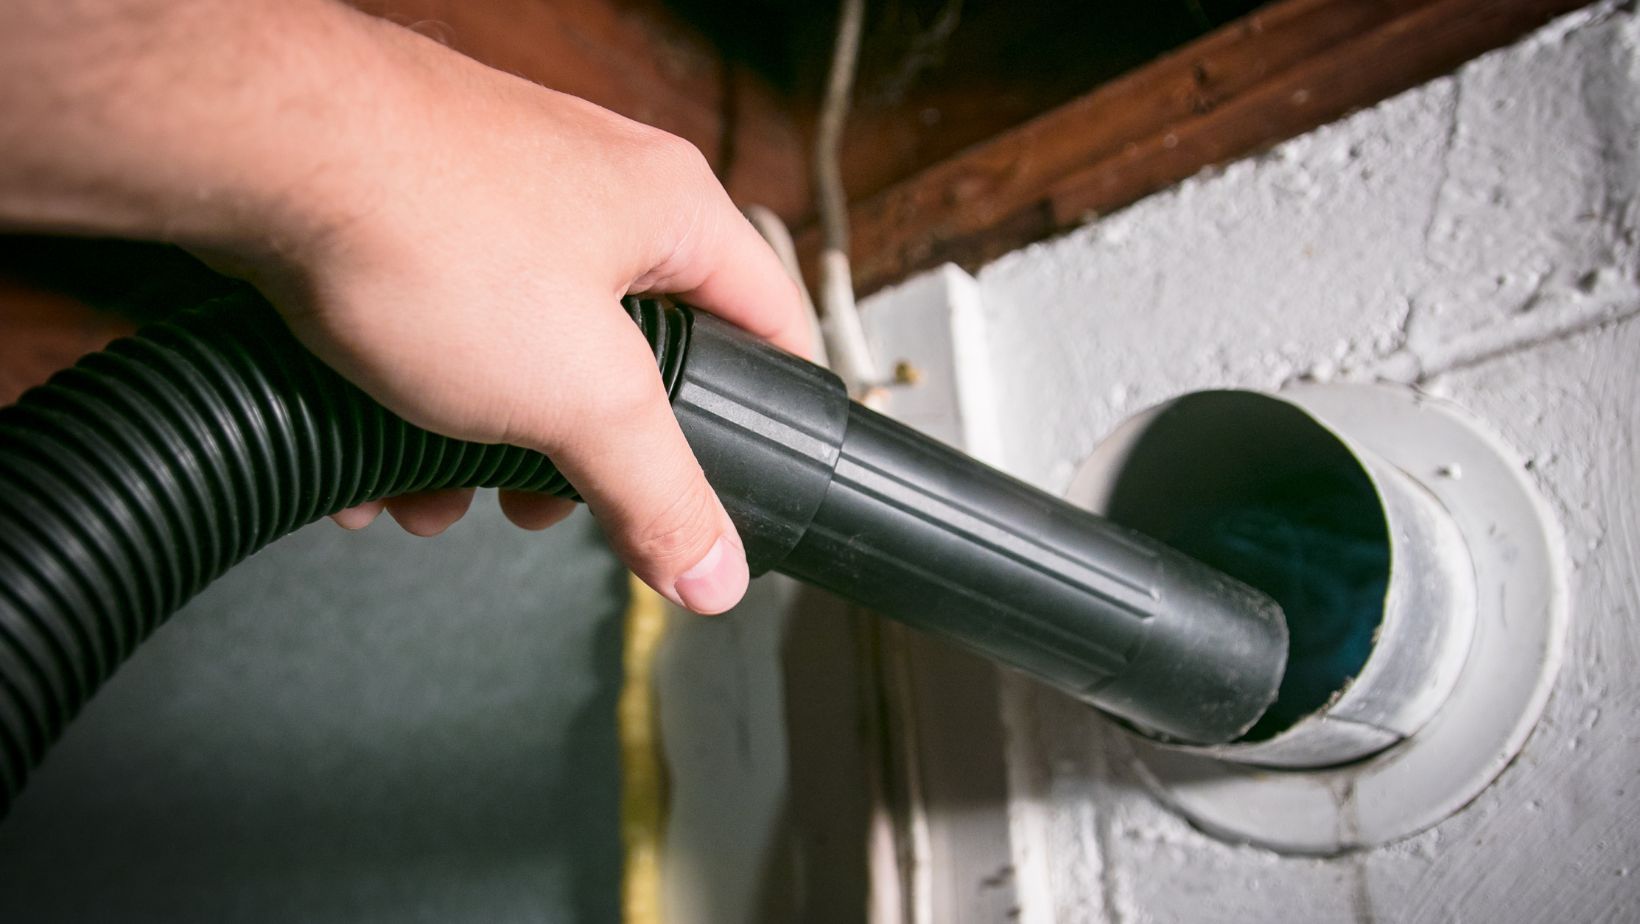
4.Step 4: Vacuum the Vent
Your brush won’t reach all the parts of the vent, and this is where your vacuum comes in. Attach it to the hose and insert it into the vent to eliminate leftovers. Proceed to the exterior of your home and repeat the process. If you use an in-home vacuum, don’t vacuum the outside vent. Just brush it only. Replace the exterior cover to the outside vent after vacuuming or brushing.
5.Step 5: Reconnect the Dryer
After cleaning the dryer vent, you should reconnect the duct. Inspect the entire ductwork to ensure no cracks or holes on its surface. If you notice holes or cracks on it, it will be wise to replace it rather than repair it.
Reattach the dryer vent to the vent on the wall and then to the dryer. Push it to its position and plug it into the outlet. If you use gas, turn the valve on.
Allow the dryer to run for a few minutes to ensure everything is well connected and to remove any remaining debris.
Remember that although you can carry out dryer vent cleaning Mississauga, you should always decide what you can do and what you should leave to a professional. In some cases, such as when the ductwork is too long, you should hire an expert to clean it. Long ductwork could prove daunting if you don’t have the right expertise and tools to pull it off.