First impressions matter a lot in videos. A strong start grabs attention and makes people want to watch more. Thumbnails and intros play a big role in this. A great thumbnail makes someone click on your video. A well-made intro keeps them watching.
The right video editing software helps create better thumbnails and intros. It makes editing easier and gives more creative options. Many tools are available, but choosing one with useful features is important.
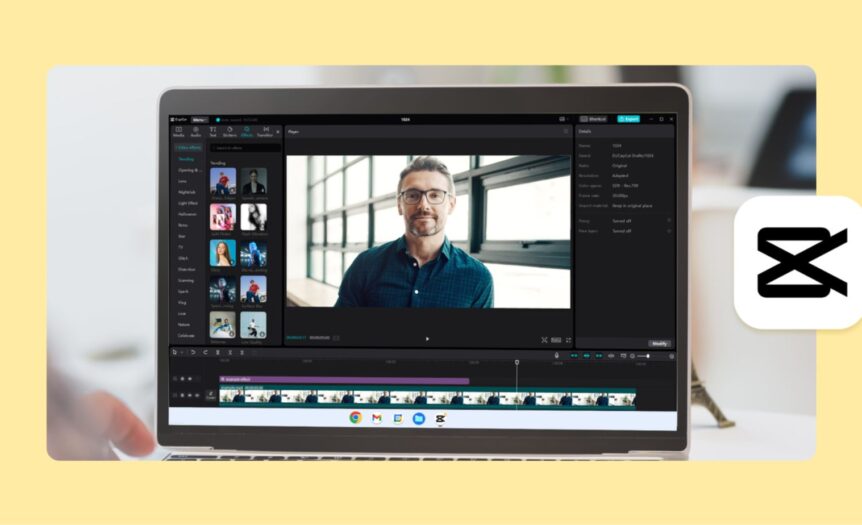
CapCut PC is a popular editing tool that helps make high-quality thumbnails and intros. It has many editing tools that improve the look of your videos. However, some advanced features require payment. Before using it, it’s good to know which tools are free and which ones are not.
Using the right tools can make your videos more engaging. With well-designed thumbnails and intros, you can grab attention and keep viewers watching.
Creating Engaging Thumbnails
Why Thumbnails Matter?
Thumbnails are the first thing people notice before opening a video. A well-designed thumbnail can grab attention and increase click-through rates (CTR). If the thumbnail is dull or unclear, viewers might scroll past the video, no matter how great the content is.
The best thumbnails use colour, emotion, and clear visuals to spark curiosity. Bright colours stand out, and expressive faces make people feel connected. A well-placed text overlay can give a quick hint about the video’s content.
A compelling thumbnail makes your video stand out among the crowd. With millions of videos uploaded every day, yours needs to be eye-catching. A strong thumbnail encourages more people to click, leading to higher engagement and more views. If you want your video to perform well, focus on creating an appealing and professional-looking thumbnail.
Key Elements of an Engaging Thumbnail
A great thumbnail has several important elements. First, it should have a high-quality image. A blurry or pixelated thumbnail looks unprofessional and can make viewers lose interest.
Second, colour plays a key role. Bright and contrasting colours grab attention. Avoid dull or overly complicated backgrounds that distract you from the main subject.
Next, adding text to your thumbnail can make it clearer. The text should be bold, easy to read, and short. Too many words will clutter space. Tools like an AI caption generator can help by adding automatic text overlays that fit your video.
Facial expressions can also make a difference. People connect with emotions, so adding an expressive face can make your thumbnail more engaging. Whether it’s excitement, surprise, or curiosity, emotions can pull viewers in.
Lastly, branding is important. Adding a logo or using a consistent style helps build recognition. When people see a familiar style, they are more likely to trust and click on your content.
A strong thumbnail increases your chances of getting more views. Focus on these elements, and you’ll create thumbnails that stand out.
Steps to Create a Thumbnail in CapCut PC
Step 1: Import and Choose an Image
Start by opening CapCut PC and uploading your video. You can either use a still frame from your video or add a separate image that best represents your content. Choosing a high-quality image is important because a blurry or low-resolution thumbnail won’t attract viewers.
Step 2: Edit and Enhance the Thumbnail
Now, it’s time to make your thumbnail more appealing. Use CapCut’s editing tools to adjust brightness, contrast, and saturation. A well-balanced image will be more eye-catching.
Next, add text overlays to highlight key information. The text should be short, bold, and easy to read. If you want to save time, you can use an AI caption generator to create auto-generated text that fits the video’s theme. Stickers, outlines, and borders can also help certain elements stand out.
Make sure to crop and resize the thumbnail to fit the platform’s requirements. A properly sized thumbnail looks more professional and ensures that important details aren’t cut off.
You can also upload a video and click “Cover” behind the timeline to customize your thumbnail with various text and templates.
Step 3: Export and Save the Thumbnail
Once you’re happy with the design, export the thumbnail in high resolution. Save it in the right format and upload it along with your video. A great thumbnail can make a huge difference in your video’s success.
Creating Engaging Intros
Why Video Intros Are Important?
Your video’s intro is the first thing people see. A strong intro keeps viewers watching. If your intro is too long or boring, they might leave.
A well-made intro sets the mood for the rest of the video. It tells viewers what to expect. A short and engaging intro makes your video look professional.
Most successful intros are 5 to 10 seconds long. Anything longer can lose the audience’s attention. A simple, clean, and well-edited intro works best.
To make intros even better, consider using a text-to-speech tool. It helps you add a voiceover without recording your voice. This is useful if you want a clear and professional sound. With the right tools and a bit of creativity, you can create an intro that keeps people watching.
Key Elements of an Effective Intro
A great intro is short and to the point. It should grab attention right away. Avoid adding too many details. Instead, focus on making it clear and professional.
Branding is important. Your intro should include your logo, channel name, or a unique style. This helps people recognise your content. Keep the design clean and simple.
Music sets the mood. Choose background music that fits your video’s theme. Upbeat music works well for fun content, while calm music suits educational videos. Ensure the volume isn’t too high.
Smooth transitions and animations make your intro look polished. Avoid sudden jumps between clips. Instead, use soft fades or creative effects.
A good intro also includes a strong hook. This could be a short message, a tagline, or an interesting clip. It should make viewers curious about what comes next.
Using a text-to-speech tool can also help. It lets you add a voiceover without recording it yourself. This makes your intro sound professional and saves time. With these elements, you can create an intro that keeps viewers engaged.
Steps to Create an Intro to CapCut PC
Step 1: Import Video Clips and Assets
First, download CapCut PC from its official website and install it. Once installed, open the video editing software. Import your video clips, logo, and any branding elements you want to use.
Step 2: Edit and Enhance the Intro
Now, start editing your intro. Add text, animations, and transitions to make it smooth. Use simple effects to keep it clean and professional.
Next, choose background music. Make sure it matches the tone of your video. Adjust the volume so it doesn’t overpower any voiceovers.
If you want to add narration, try a text-to-speech tool. It helps create a clear and natural-sounding voiceover. This is helpful if you don’t want to record your own voice.
Step 3: Export and Integrate with Main Video
Once you’re happy with the intro, export it in high quality. Choose the right resolution and format for your platform. Finally, add the intro to the beginning of your main video.
With these steps, you can create a professional intro that makes a great first impression.
Conclusion
Thumbnails and intros play a big role in getting people to watch your videos. A great thumbnail grabs attention, while a strong intro keeps viewers engaged. When done right, both can boost views and audience retention.
Creating these elements does not have to be hard. With the right video editing software, you can design eye-catching thumbnails and intros in minutes. Tools like CapCut PC offer useful features but keep in mind that some advanced options require payment.
Now, it’s time to use these tips in practice. Experiment with different styles and find what works best for your audience. The more you make, the better you’ll become. So, start now and make your videos stand out!