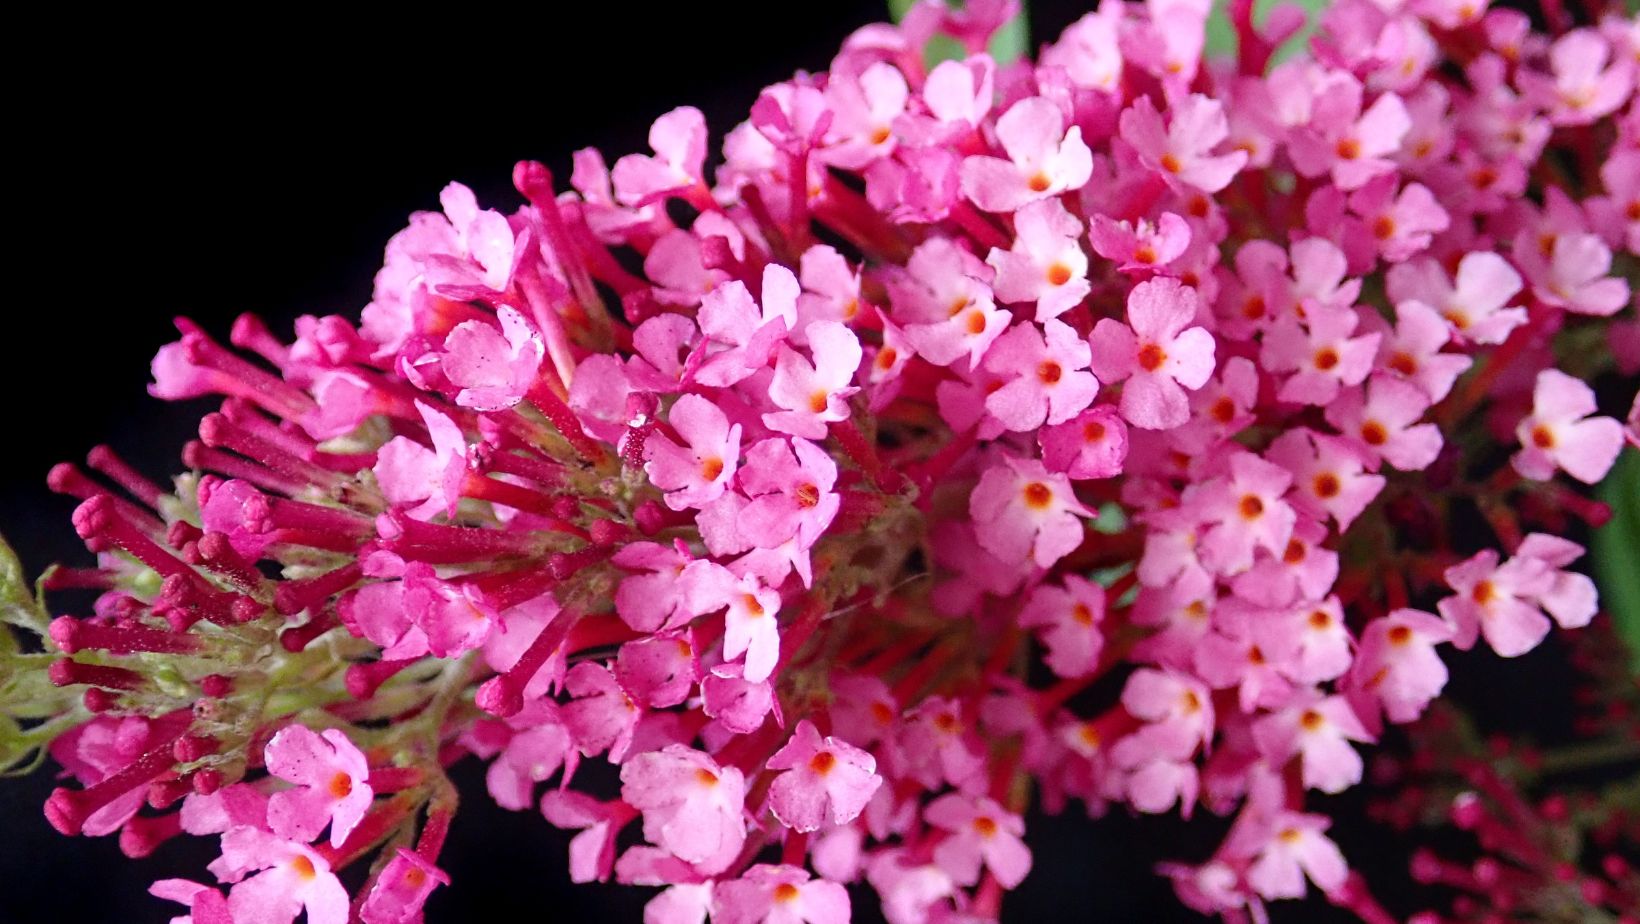
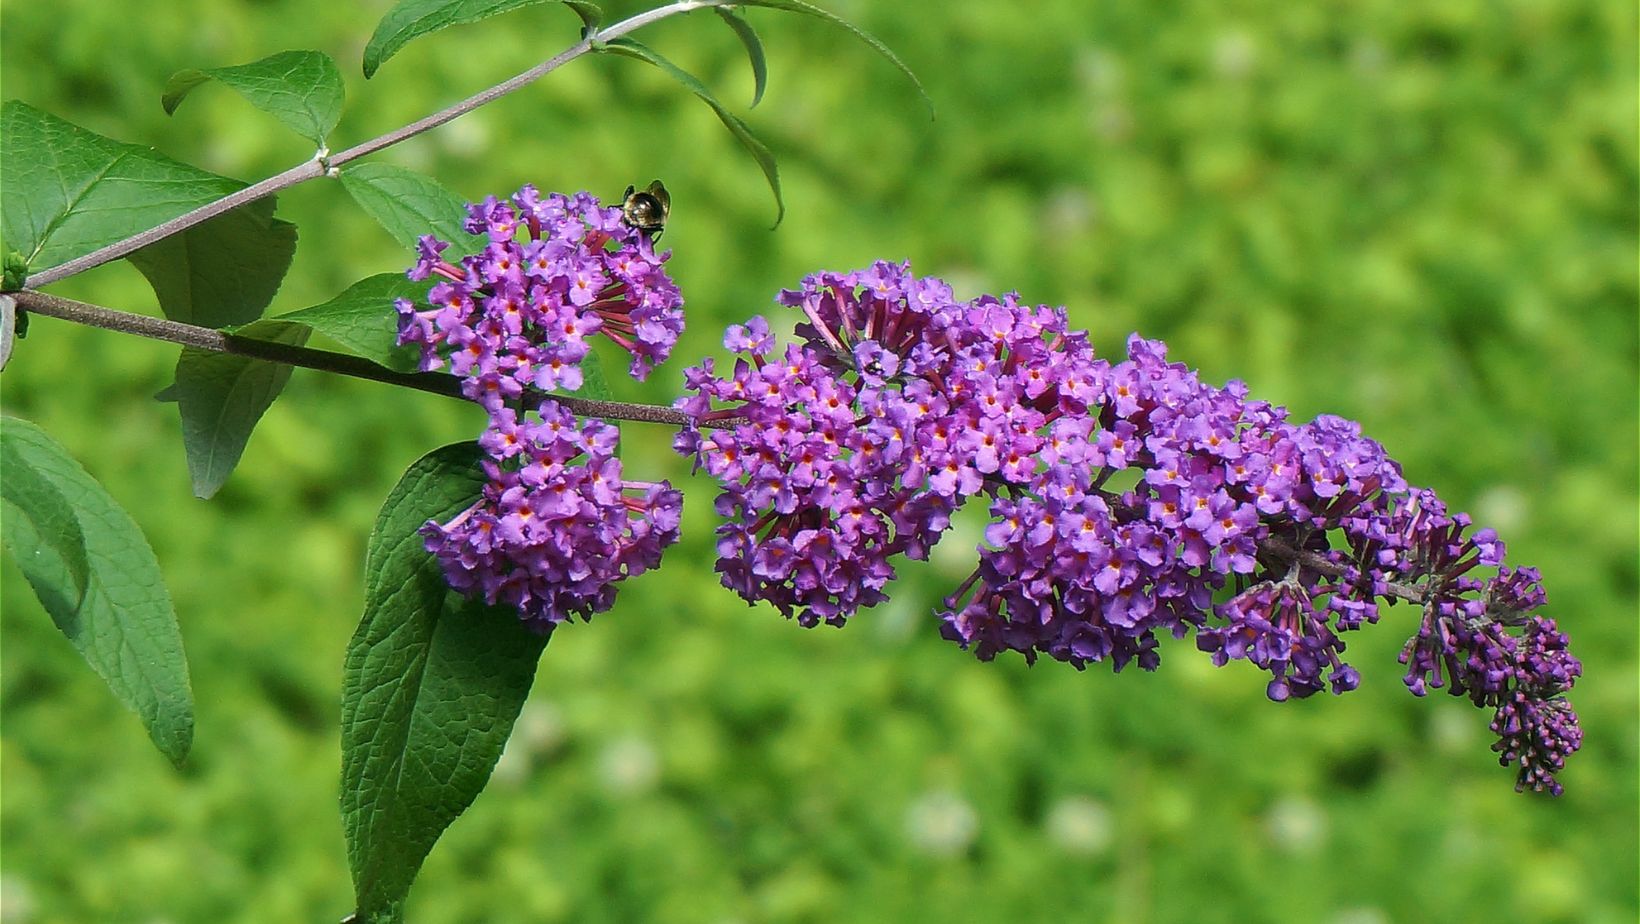
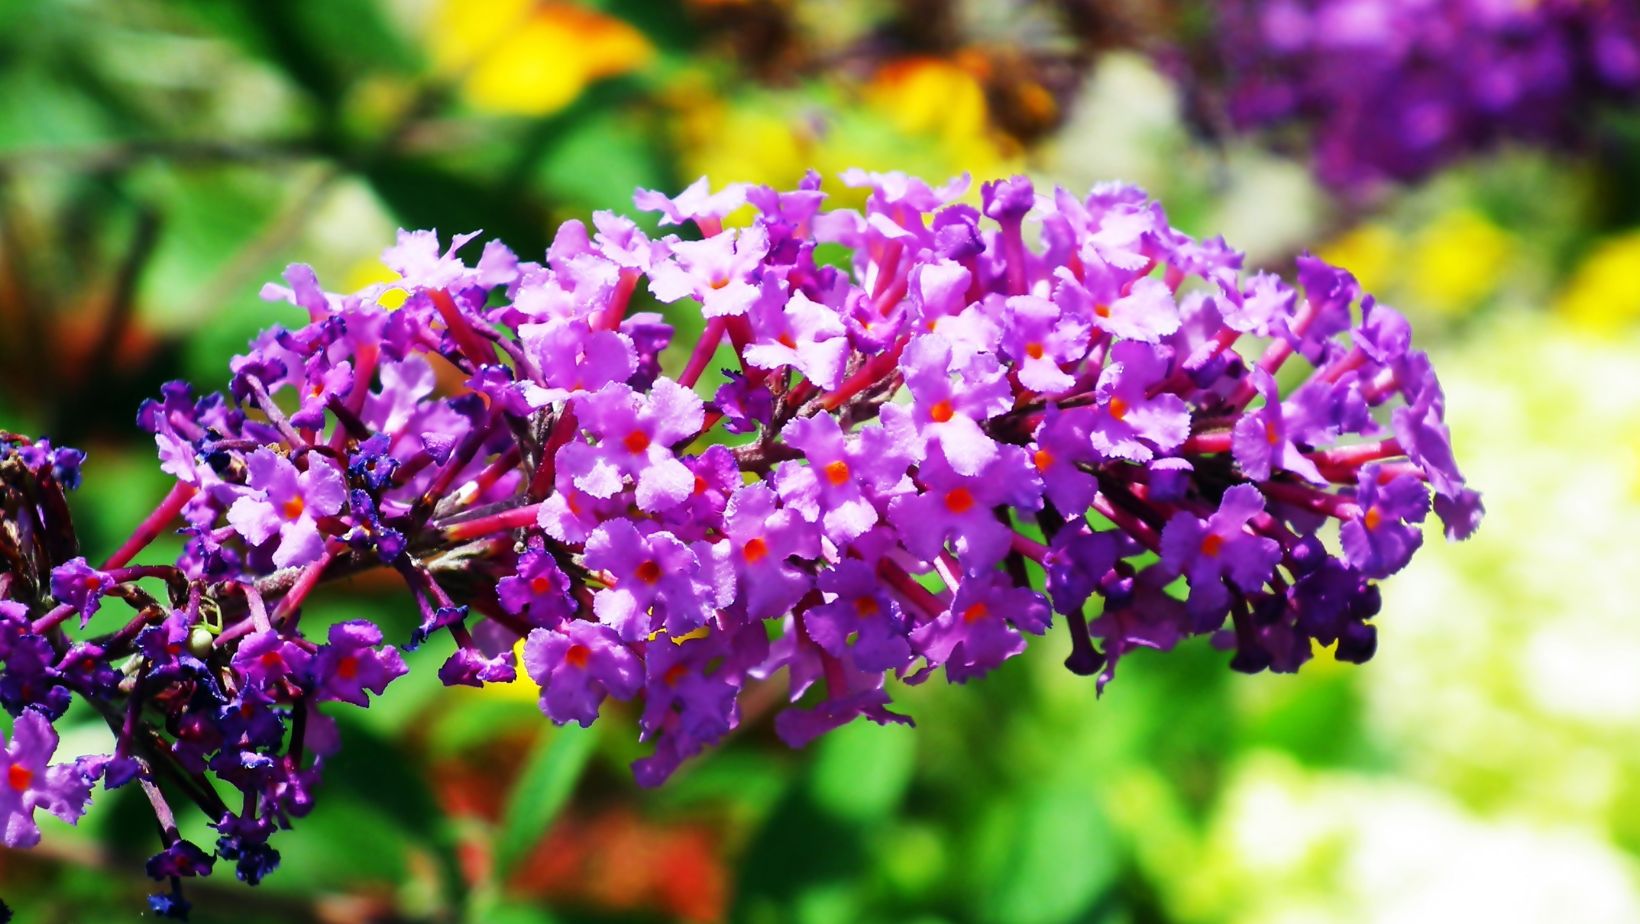
The Buddleia bush, or as it’s more commonly known as the butterfly bush, with its vibrant, cone-shaped clusters of flowers and sweet, honey-like scent, there’s absolutely no wonder why this plant is a hit with our fluttery friends. Here’s a fun thought, what if you could have more of these lovely shrubs in your garden without spending a penny or buying more at Gardeners Dream? You heard me right; it’s time to roll up your sleeves and dive into the wonderful world of propagating Buddleia bushes!
Buddleia Bushes: The Basics
Before we actually embark on our propagation journey, let’s take a quick moment to appreciate the star of this show, the Buddleia bush. Native to East Asia, this deciduous shrub has made itself at home in gardens across the globe, and why not? Its ability to attract butterflies, bees, and other pollinators is like throwing a garden party that absolutely everyone wants to attend.
Propagation Station: Getting Started
Now, onto the task at hand, propagation, and the fantastic news is that Buddleia bushes are as easy to propagate as they are beautiful.
In fact, they’re so eager to multiply that they practically do all the work for you. All you will really need is a little bit of know-how, a dash of patience, and perhaps a touch of that green thumb.
Step 1: Choosing Your Cuttings
The best time to take cuttings from your Buddleia bush is in late summer, and you’ll want to look for healthy, vigorous stems that have plenty of growth. Do avoid any stems that look diseased or weak, and remember, you’re looking for the A-listers of your Buddleia bush, not the extras.
Step 2: Snip, Snip
Once you’ve identified your chosen stem, it’s time to make the cut. Here, you’ll want to cut about 4-6 inches from the tip of the stem, just below a leaf node (the little bumps where leaves grow), and make sure you use a clean, sharp pair of gardening shears for a clean-cut or it will turn out looking like a haircut gone horribly wrong.
Step 3: Prep Your Cuttings
Next, remove the leaves from the lower half of the cutting. Oh, and keep in mind to remove any flower buds, as they can take energy away from root development (surprising, I know).
Step 4: Plant Those Babies
Dip the cut end of your stem in rooting hormone (this step is optional but can help boost success rates), then stick it into a pot filled with a mix of perlite and peat moss. Water well and cover the pot with a plastic bag to create a mini greenhouse effect.
Step 5: Wait for the Magic
Now comes the hardest part – waiting. This can take anywhere from a few weeks to a couple of months for your cuttings to develop roots and not to let you off the hook just yet. During this time, keep the soil moist but not waterlogged for optimal results.
The Joy of Growing Buddleia Bushes
So there you have it, the art of propagating Buddleia bushes, and I sincerely hope you found it a lot easier than you initially thought and now more a rewarding process that can fill your garden with these stunning shrubs. Plus, think of all the butterflies you’ll be attracting! Sort of like being the most popular kid in school, except your classmates are butterflies, and school is your garden.
So why not give it a go? After all, as the saying goes, “The more, the merrier.” And when it comes to Buddleia bushes, we couldn’t agree more. Happy propagating!