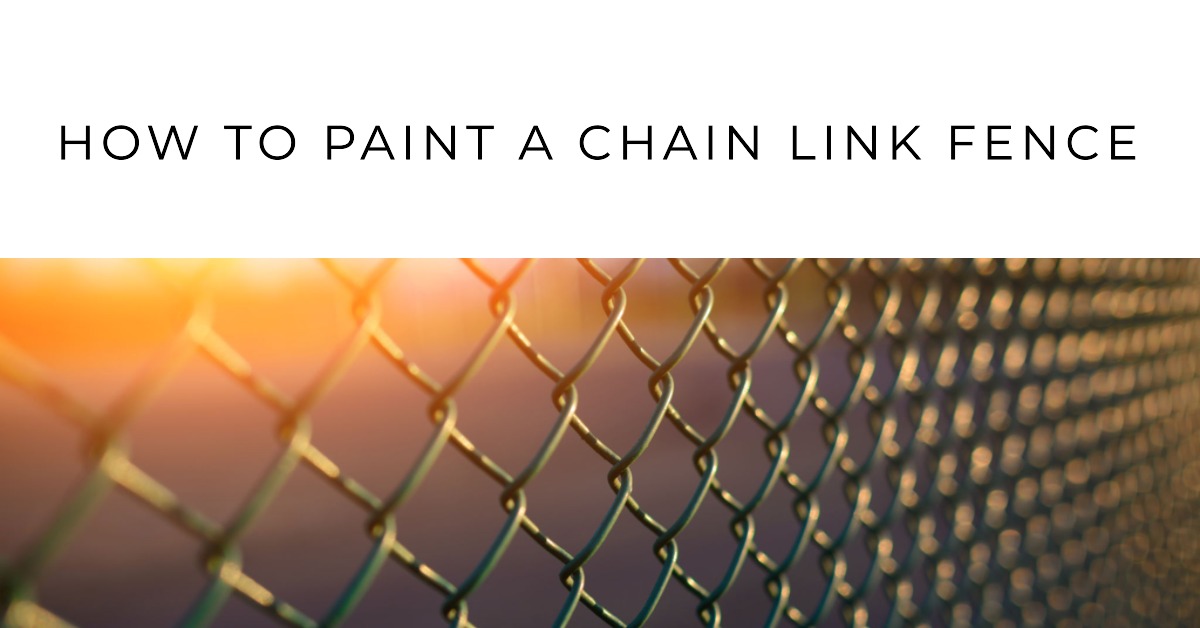
A well-maintained chain link fence can provide security, privacy, and an appealing look to your property. One way to ensure the longevity of your fence while enhancing its appearance is by painting it.
However, many homeowners are unsure how to paint a chain link fence correctly. This blog post will teach you step-by-step techniques for preparing the metal surface, choosing the right materials, and applying paint efficiently to transform your fence into an attractive asset on your property.

Preparing Your Chain Link Fence For Painting
To ensure a smooth and long-lasting paint job, start by cleaning your chain link fence thoroughly with soap and water, then remove any rust or flaky old paint using a wire brush or sandpaper.
If needed, apply primer to help the new paint adhere properly.
Cleaning The Fence
A clean fence is essential for achieving a smooth and even paint job on your chain link fence. Begin by removing any dirt, debris, leaves, or grass that may be stuck in the links of the fence.
Once the visible debris has been cleared, it’s time to give your chain-link fence a thorough washing. A pressure washer set at low pressure can help remove stubborn grime and dust from all surfaces of your fence easily and quickly; however, if you don’t have access to one, using a garden hose with an attached spray nozzle will suffice as well.
Mix some mild detergent with water in a bucket and scrub down every inch of your fence with a soft-bristle brush to ensure there’s no residue left behind that could interfere with paint adhesion.
Rinse off all soap thoroughly after cleaning so that it doesn’t mix with the paint later on during application.
Video Credit (Tee Hour)
Removing Rust And Old Paint
Before you start painting your chain link fence, it’s crucial to remove any rust or old paint. If left unaddressed, these issues can cause the new coat of paint to flake off quickly and make your fence look unsightly.
Fortunately, removing rust and old paint is a straightforward process. First, use a pressure washer to blast away any loose debris and dirt from the fence. Next, use a wire brush or sandpaper to scrub away any remaining rust or peeling paint.
By taking the time to properly remove any existing damage on your chain link fence before painting it, you’ll ensure that your fresh coat lasts longer and looks better overall.
Applying Primer If Needed
Before painting your chain link fence, it’s essential to determine whether you need a primer. A metal primer can be especially helpful if your fence has rust or bare spots that need coverage before applying paint.
Using a metal primer will create an even surface for the paint to adhere to and increase its durability.
When selecting a primer, look for one specifically designed for use on metal surfaces. Some primers are formulated with rust inhibitors which can help prevent future corrosion, while others may contain adhesion promoters that assist with bonding.
Applying a thin coat of primer using a sprayer or roller will give the fence optimal protection from environmental elements and ensure your final coat of paint lasts longer.
By taking some extra time and care during surface preparation and utilizing proper coatings like primers – this can guarantee that your chain-link fence remains rust-free and enhances property appeal consistently over the years!
Choosing The Right Paint And Tools
Selecting the right paint and tools to use for painting your chain link fence is crucial in achieving a smooth and long-lasting finish. When it comes to choosing the color of your fence, make sure to consider your surroundings, such as the colors of nearby structures or landscaping elements.
With regards to tools, you can either use a roller or spray gun depending on what’s convenient for you.
For paint selection, choose one that offers complete rust prevention and high durability against harsh weather conditions. An aluminum-based paint is an excellent option because it provides superior adhesion while providing protection from corrosion.
Additionally, don’t forget about safety gear such as gloves and goggles when handling paints with chemicals like rust inhibitors or sprayers emitting fine mist particles into the air.
Techniques For Painting Your Chain Link Fence
There are a few different techniques you can use to paint your chain link fence, including using a sprayer or roller and applying primer and paint.
Using A Sprayer Or Roller
One of the tools you can use for painting your chain link fence is a sprayer or roller. Both options have their respective advantages and disadvantages, so it’s all about finding what works best for you.
A sprayer is great for large areas as it covers more ground in less time, but it can be messy and difficult to control overspray.
When using a sprayer, make sure to cover nearby plants and objects with cardboard or plastic guard to prevent damage from overspray. Similarly, if using a roller, opt for long-nap or heavy nap rollers that can reach into all parts of the links without leaving gaps.
Applying Primer And Paint
Applying primer and paint is a crucial step in painting your chain link fence. After cleaning the fence and removing rust, you’ll need to apply a coat of metal primer if needed to ensure that the paint adheres well.
When applying paint, it’s best to use either a sprayer or roller depending on your preferences. For large areas, using a sprayer can save you time and effort while providing even coverage.
On the other hand, using a roller allows you to work in small sections making sure that every corner and crevice is covered with sufficient coating.
To avoid any accidents or injury during this process, make sure that you wear protective gear like gloves and goggles when working with chemicals such as spray-on rust inhibitors or primers.
Applying A Second Coat
After completing the first coat, let it dry completely before applying a second coat of paint. This will ensure that your chain link fence is fully protected and looks great from all angles.
Applying a second coat is essential for achieving an even finish and making sure no spots are missed during the first round of painting.
If you notice any remaining corrosion or rust spots after two coats, apply a spot treatment on those areas only. Adding more coats beyond this can lead to over-painting and may negatively affect the durability of your coating overall.
The number of coats required also depends on which type of paint you use – some may require more than others based on their formula and pigmentation levels.
Spot-Treating Remaining Corrosion
After painting your chain link fence, it’s essential to check for any remaining corrosion spots that may have been missed during the previous steps. These areas can cause more significant issues down the road and ruin all your hard work.
To spot-treat remaining corrosion effectively, use a wire brush or sandpaper to remove any rusted or peeling paint.
Make sure you follow manufacturer instructions and allow sufficient drying time before applying another coat of paint. Remember always to wear protective gear such as gloves and goggles when working with chemicals like rust converters.
Tips For Making Your Fence Painting Job Easier
Break up your painting job by section to avoid fatigue. Also, try to paint with the wind and take breaks in between coats of paint for a smoother application process. Applying multiple coats if necessary can also help ensure the durability of the coating.
Work In Small Sections
One of the key tips for painting a chain link fence is to work in small sections. This will help ensure that you achieve even coverage and reduce the risk of missing spots or leaving streaks.
Divide your fence into manageable sections, and focus on completing one section at a time before moving on to the next.
Working in small sections is particularly important when using a roller or brush, as it enables you to control the amount of paint being applied and avoid drips or splatters.
As an added bonus, working in smaller areas also makes it easier to spot any missed spots or touch up minor imperfections as needed.
Paint With The Wind
When painting your chain link fence, it’s important to pay attention to the direction of the wind. This might seem like a small detail, but it can make a big difference in the final outcome of your work.
If you’re using spray paint or a paint sprayer, the wind can easily carry droplets of paint onto nearby surfaces and create an uneven finish.
If you’re using a brush or roller instead, working with or against the wind can affect how smoothly and evenly you are able to apply each coat. Painting with the wind at your back will help push excess paint away from where you’ve just painted and prevent drips and smudges.
On a windy day, consider putting up cardboard guards around areas adjacent to where you’ll be painting in order to block any errant overspray.
Take Breaks To Avoid Fatigue
Fence painting can be a tiring and time-consuming job, so taking regular breaks is crucial. When you paint for an extended period of time, you may experience muscle fatigue or soreness in your neck and shoulders.
Consider breaking your painting project into smaller chunks and take 10-15 minutes to rest after each section is finished. Use this time to stretch your muscles, hydrate yourself with water, and step back from the fence to evaluate how it looks from a distance.
This approach not only prevents fatigue but also helps maintain quality control throughout the project.
Apply Multiple Coats If Necessary
When it comes to painting a chain link fence, applying multiple coats of paint might be necessary for full and even coverage. This is especially true if your fence has visible rust or old paint that needs touching up.
To ensure the best results, wait until the first coat of paint dries completely before applying another layer. Depending on the type of paint you choose and the weather conditions in your area, this could take anywhere from a few hours to a full day.
Remember that in most cases, less is more when it comes to putting on extra layers of paint. You don’t want to overload the surface with too much product and end up with drips or uneven spots.
Conclusion
In conclusion, painting your chain link fence may seem daunting at first, but with the right tools and techniques, it can be a DIY project that enhances your property’s curb appeal.
Remember to prepare your fence properly by cleaning it and removing rust and old paint before applying primer if necessary. Choose the right paint and tools for the job, such as using a sprayer or roller.
By following these steps, you’ll not only protect your metal fence from corrosion but also give it new life with fresh paint.
So go ahead! Get creative with color selection – whether it’s classic black or something more vibrant – make painting your chain link fence an enjoyable task that adds value to your outdoor space.